Protected: Haylie’s Birthday Party – Mermaid Photo Booth
Password Protected
To view this protected post, enter the password below:

To view this protected post, enter the password below:

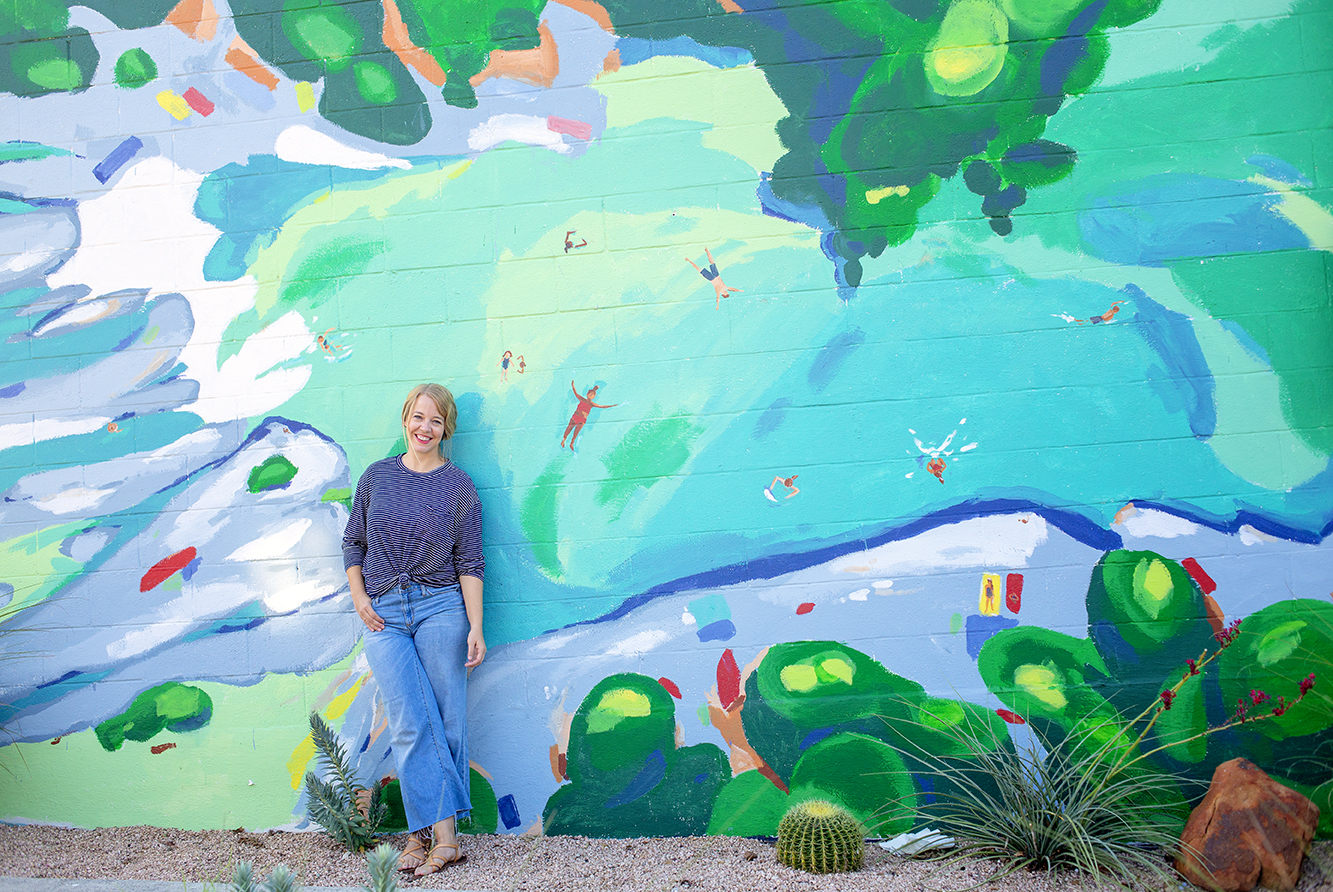
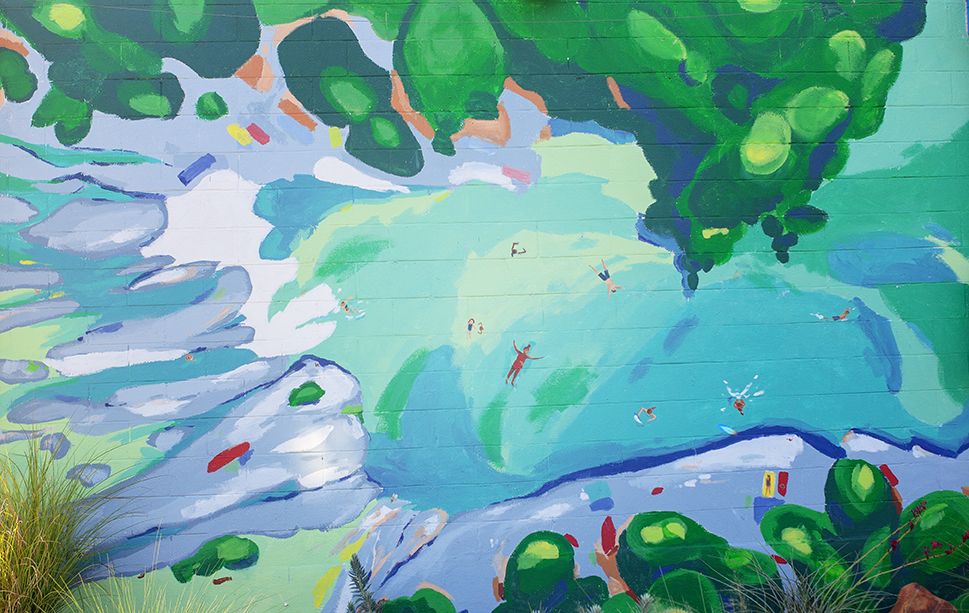
Jamie in front of the mural she co-created outside the Kammok Store in East Austin
Local artist, Jamie B. McCormick a.k.a. JBM Studio contacted me last month for a branding photo session. She’s re-doing her website and needed some new content for her site and social media. I’m always happy to work on a Creative Business Story. We brainstormed where it would make sense to take the photos. I definitely thought we should highlight her mural (seen above) and show her painting where the subject of a lot of her work takes place – out in nature.
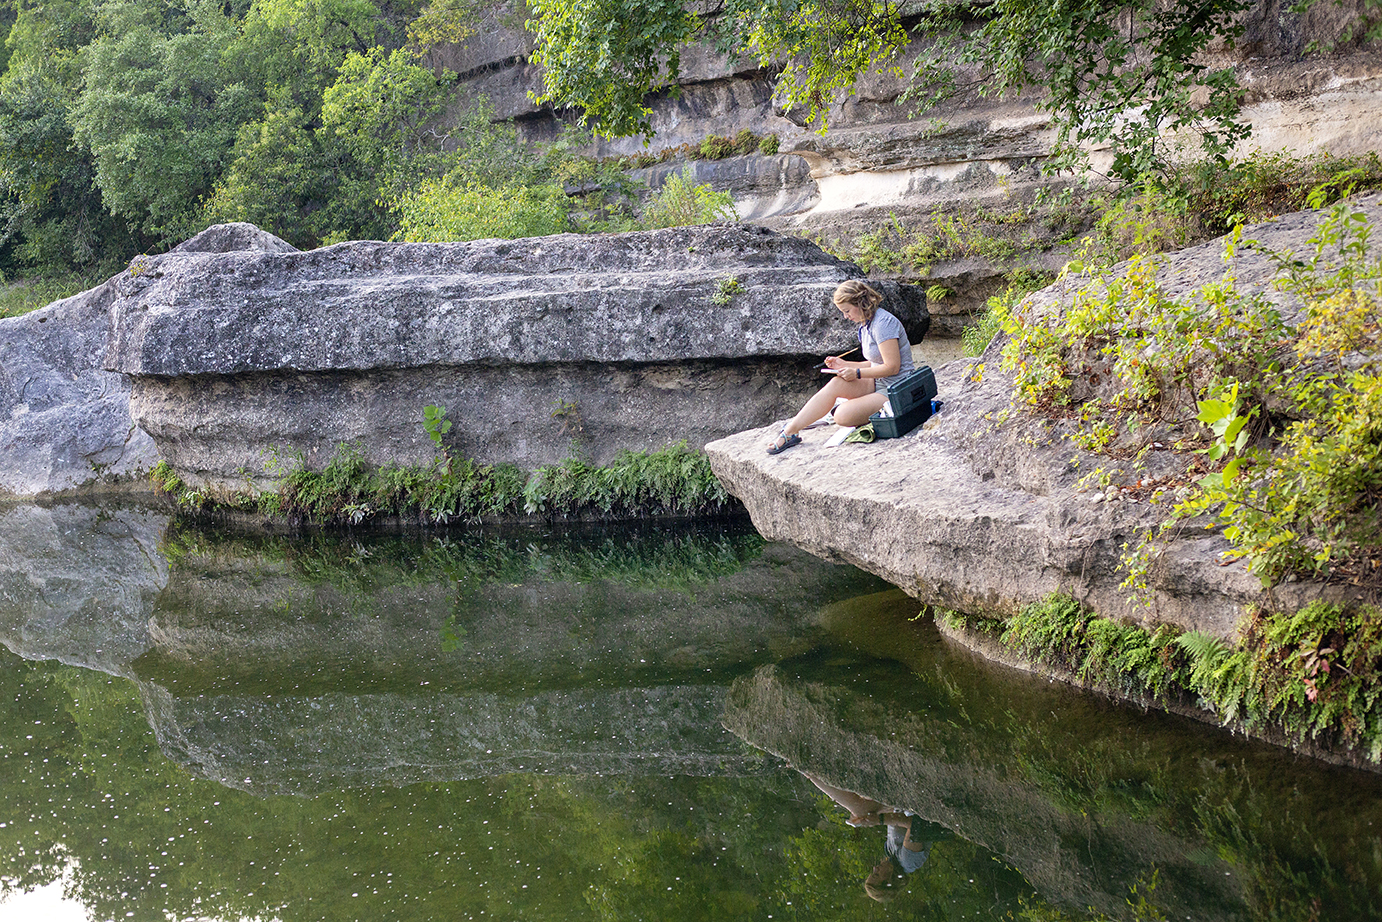
We started the morning at Bull Creek District Park.
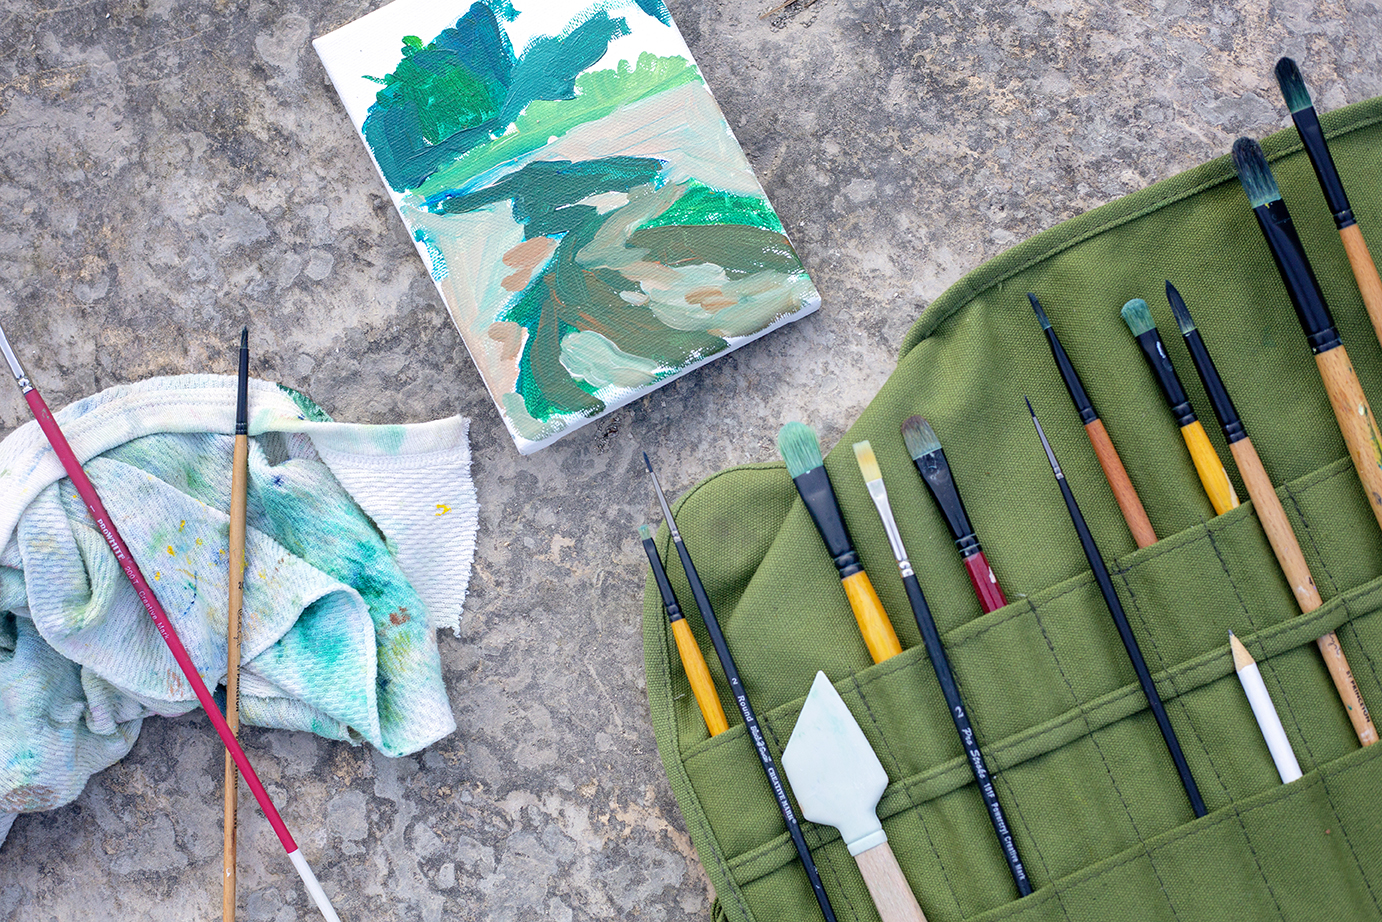
While Jamie worked on a few new art pieces, I made sure to get a variety of shots.
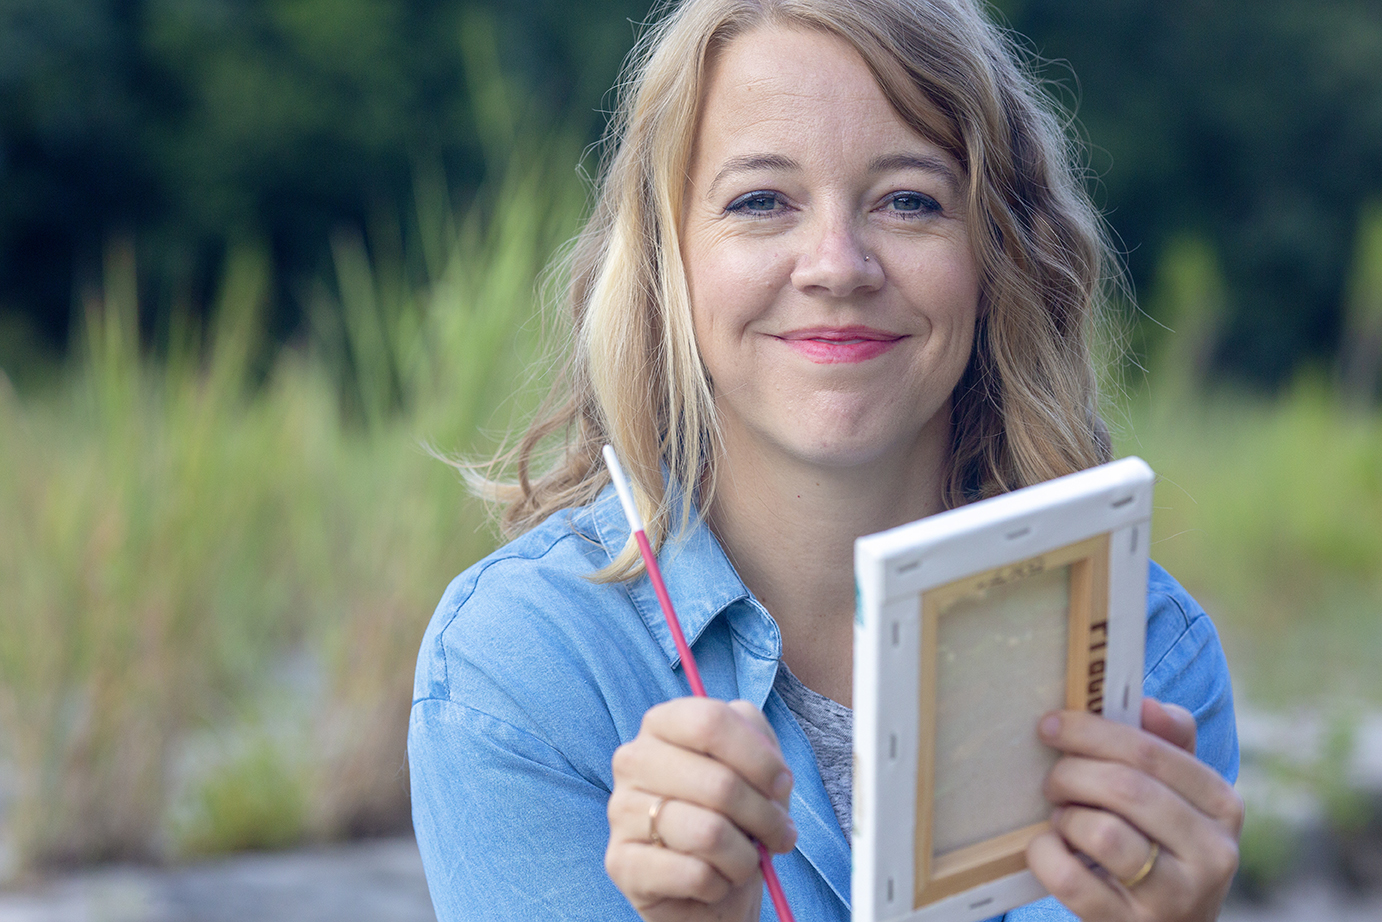
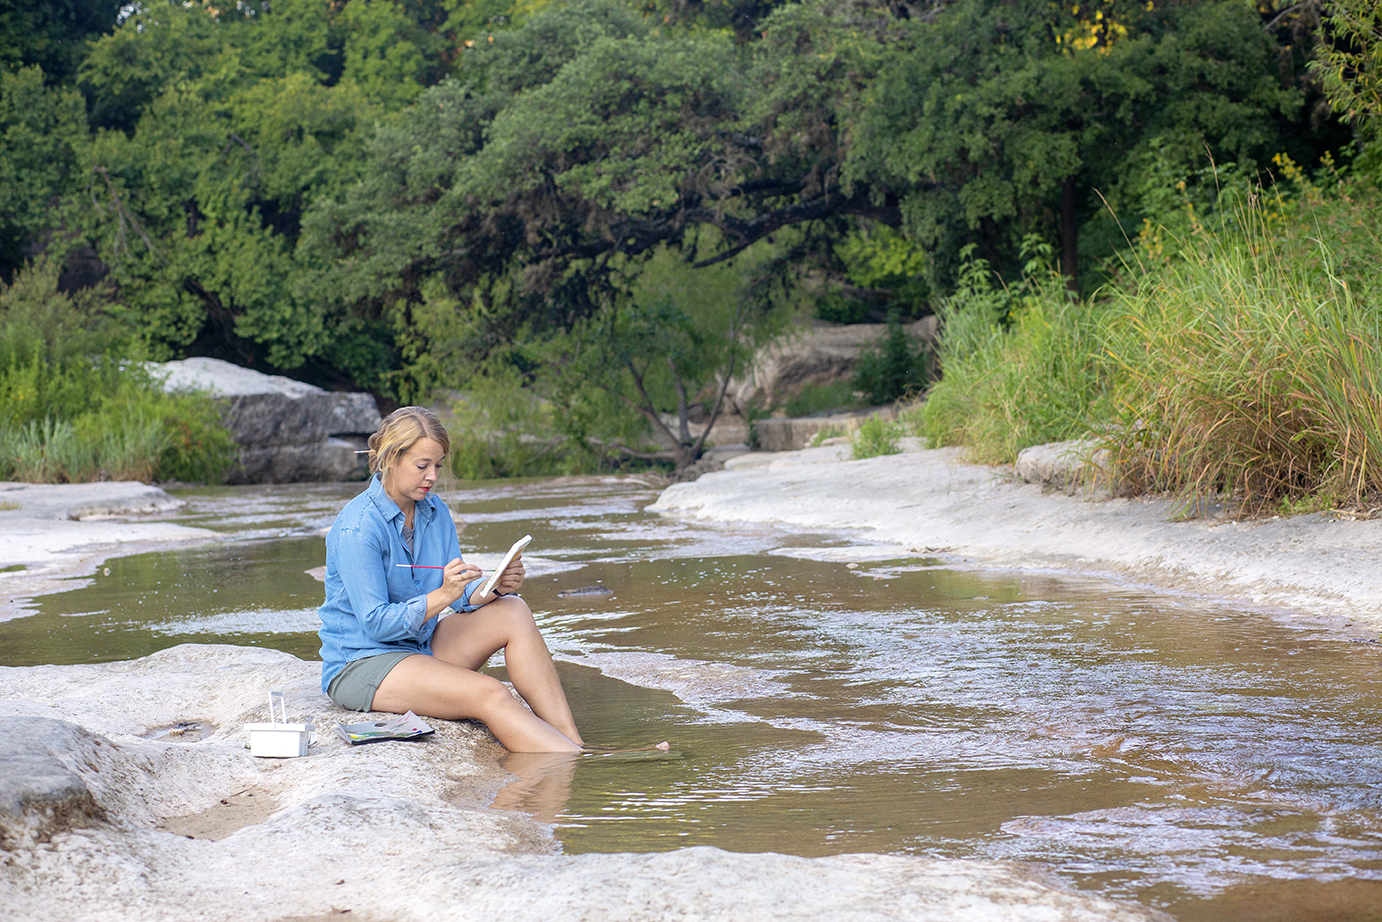
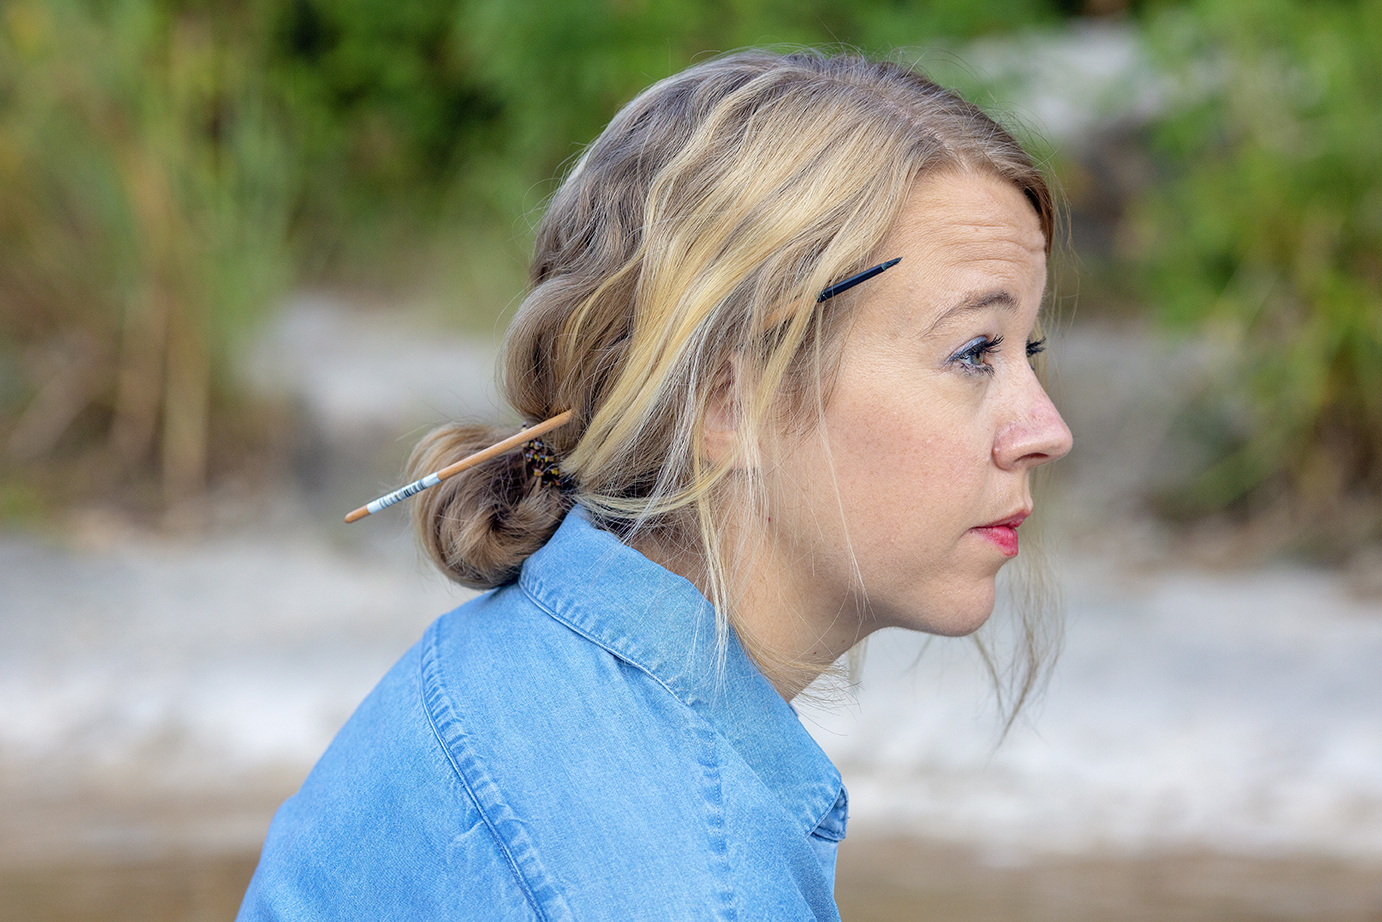
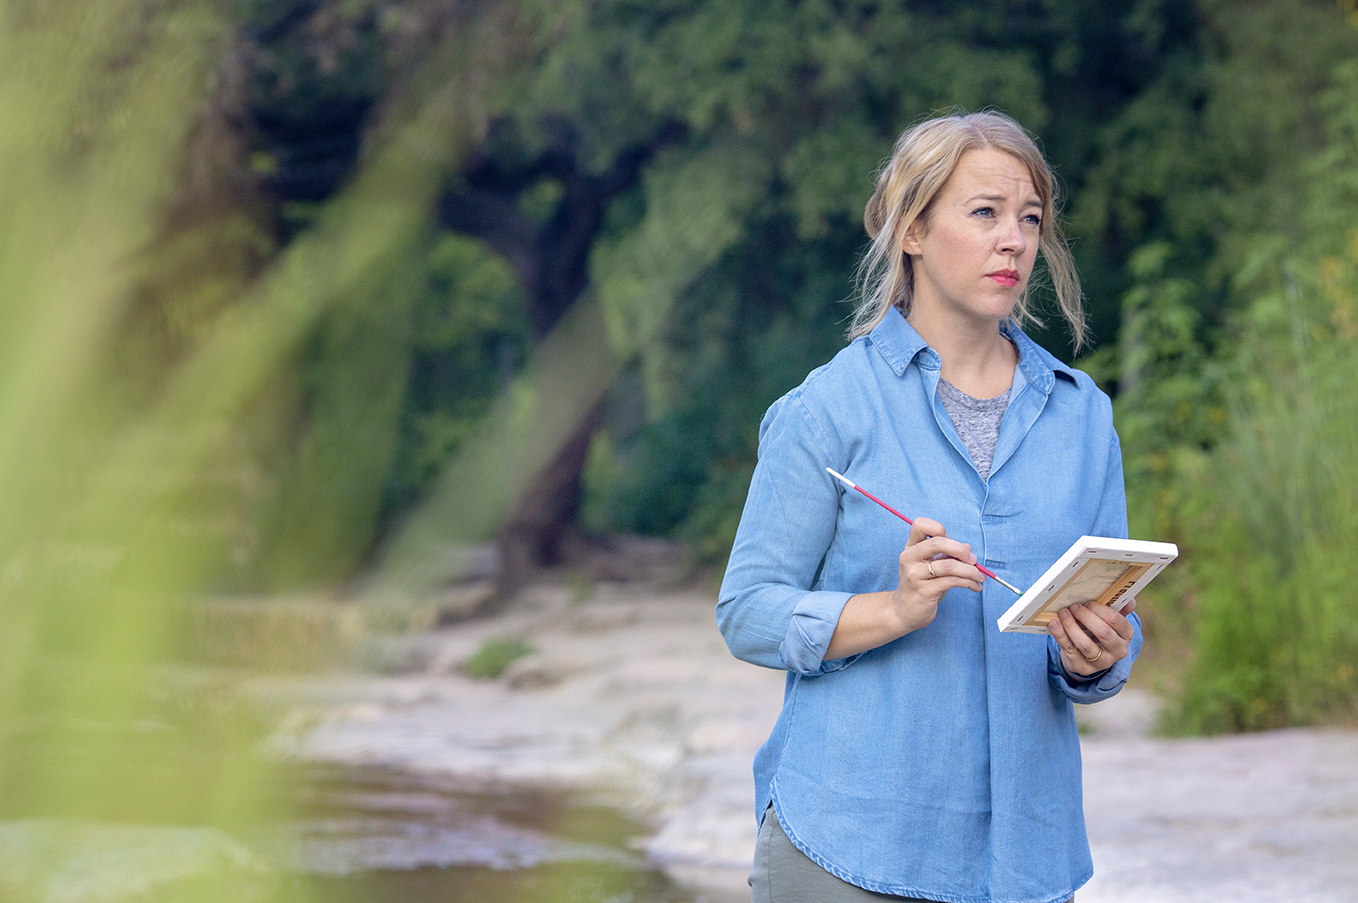
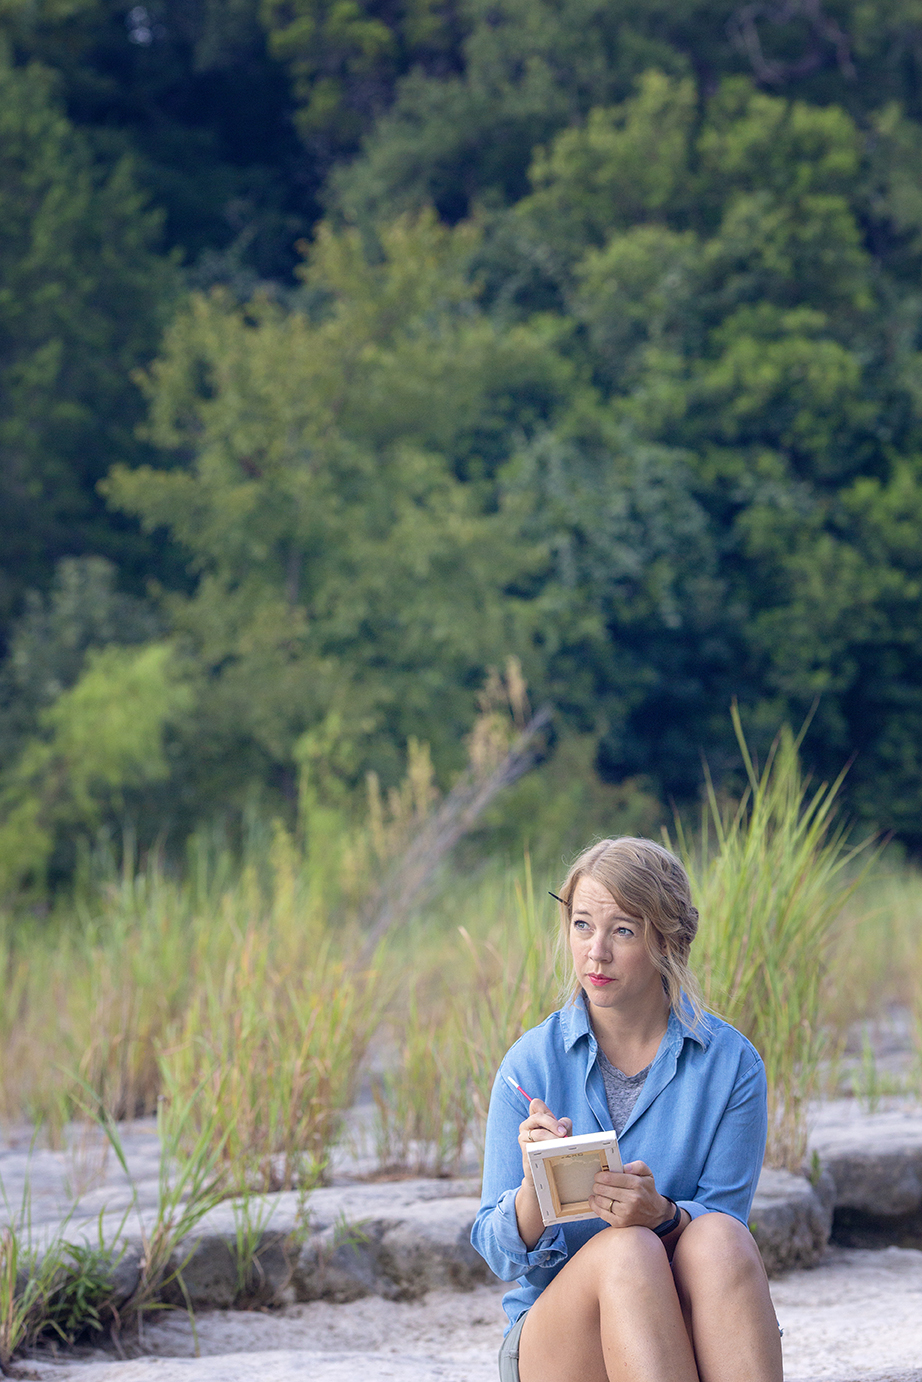
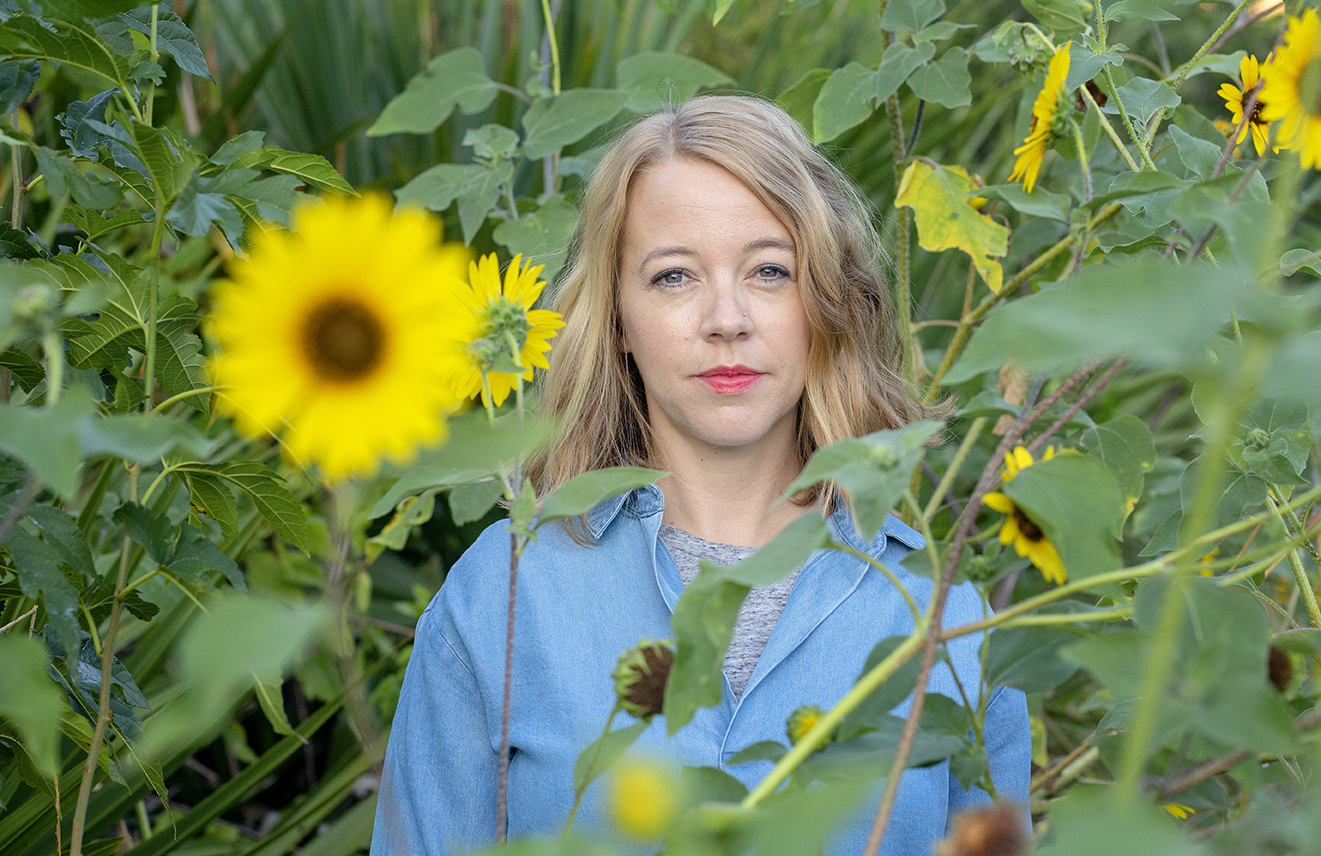
Next we drove over to the east side to visit the Kammok store. Jamie worked with fellow Austin artist, Brittany Callender, on their mural piece “Sculpture Falls” that appears on the side of the shop.
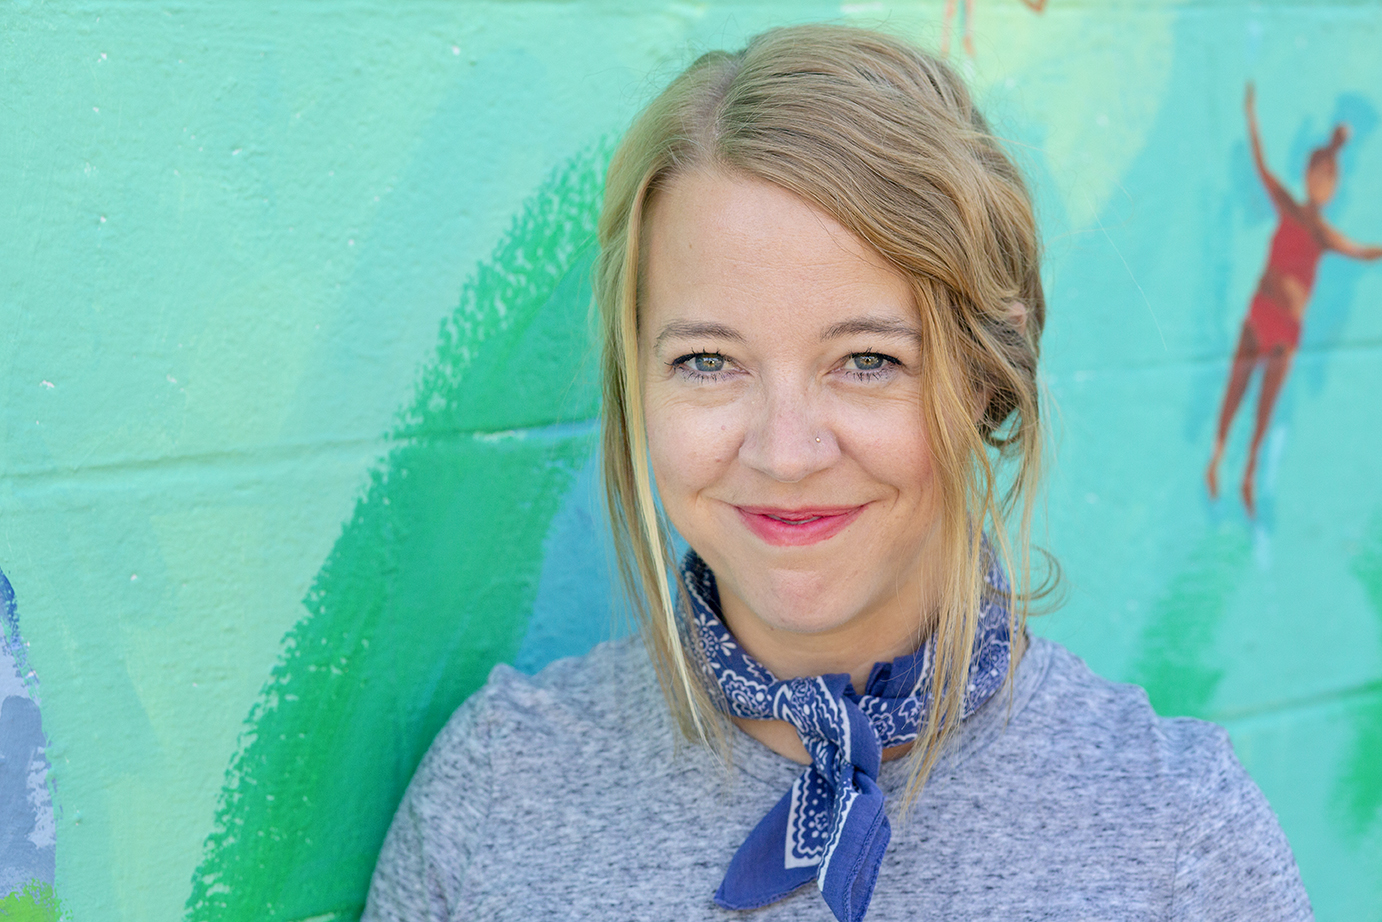
Thank you, Jamie, for a fun branding session. I can’t wait to see your updated website!
Our children are friends and I’ve admired her school photo booths! I knew she was capable of a lot if she can make an entire class full of 4-5 year olds look happy and cute.
I am not incredibly comfortable in front of the camera, but Stephanie is so fun and relaxed, it was easier than I anticipated. We talked through a lot of ideas, and she came very prepared, so I knew the plan and I didn’t feel worried on the day of the shoot. Stephanie was also good about telling me what was working (and what wasn’t) and let me look at pictures as I went, so I had a good feel for what was happening and felt comfortable asking for feedback.
Make choices that you make you feel more confident — where you go, what you wear, etc.
If you’d like your own personal branding session, more information can be found HERE or just contact me below.

So Step 1 is done – you’ve booked your photo session in Austin this year. Now you’re ready for Step 2 – what’s the location going to be? What are the best places in Austin for Senior or Family Photos?
By answering a few simple questions, we can narrow down your search. There are over 50 suggestions below on where you could have your family photos this Fall.
If no, search over, let’s have a cozy, in-home lifestyle session. You can snuggle on the couch and play in the yard. Pets always welcome.
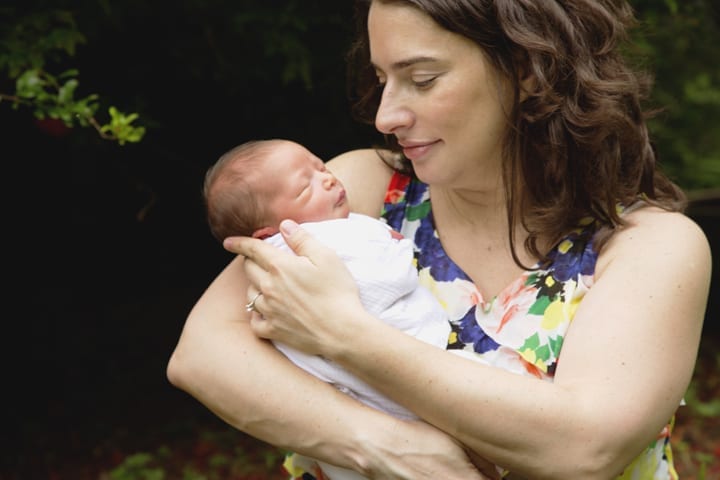
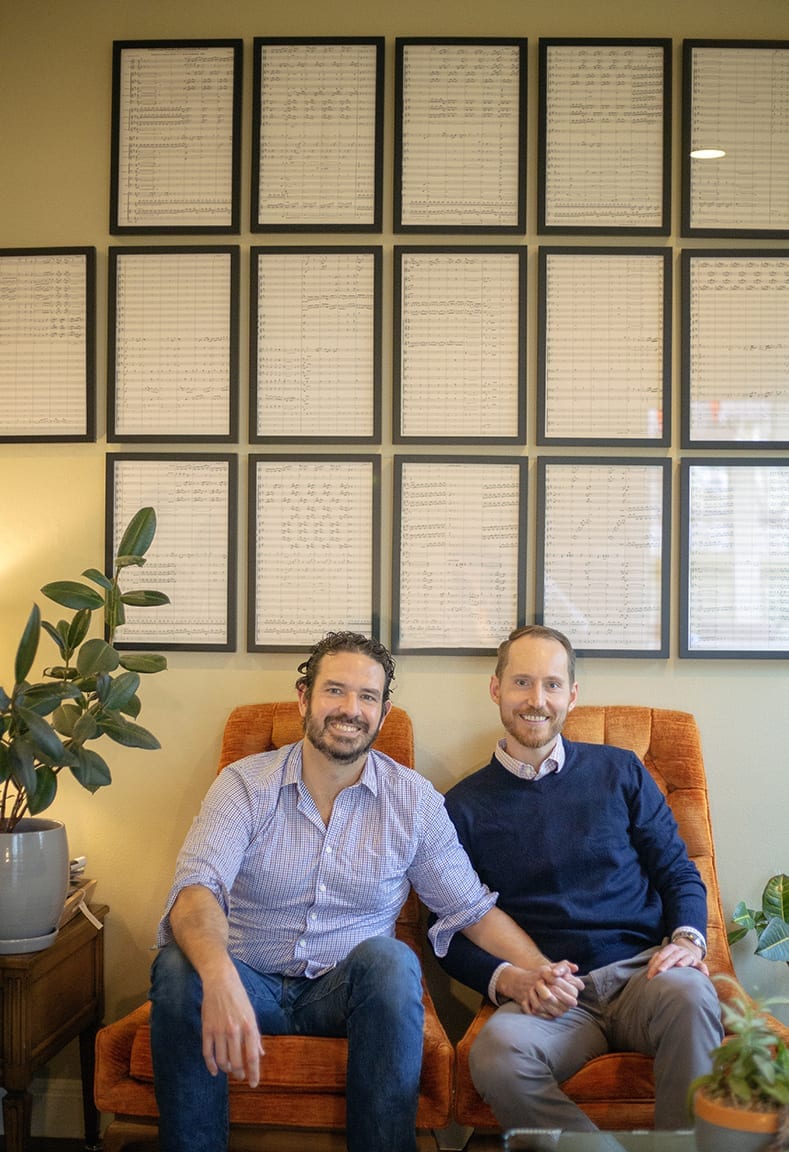
If yes, some great options include
*2024 prices – may be subject to change
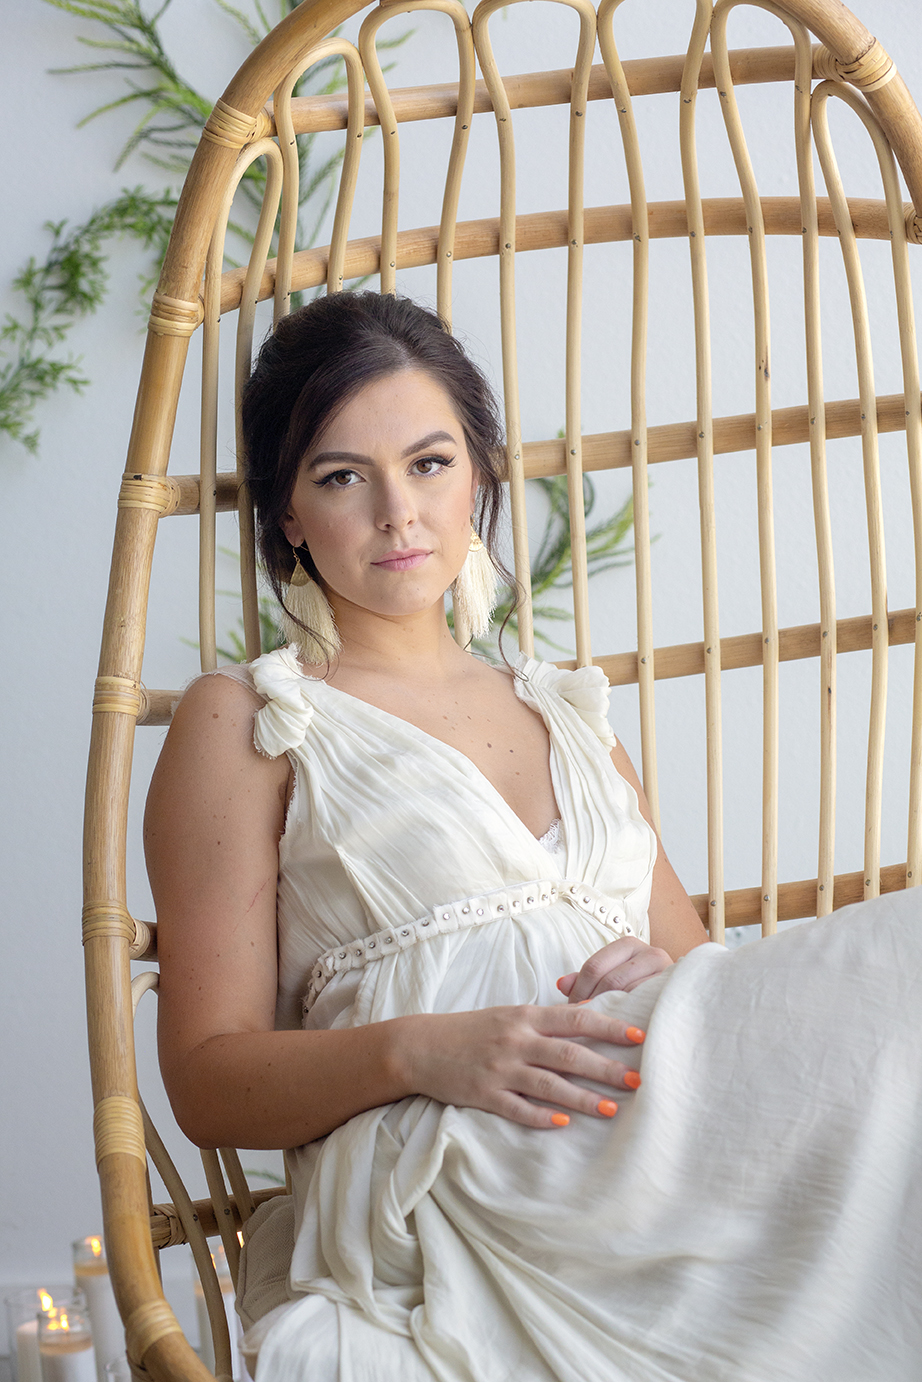
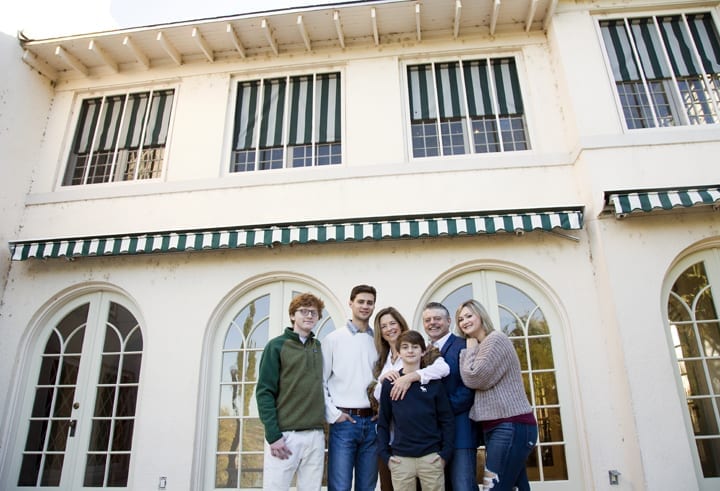
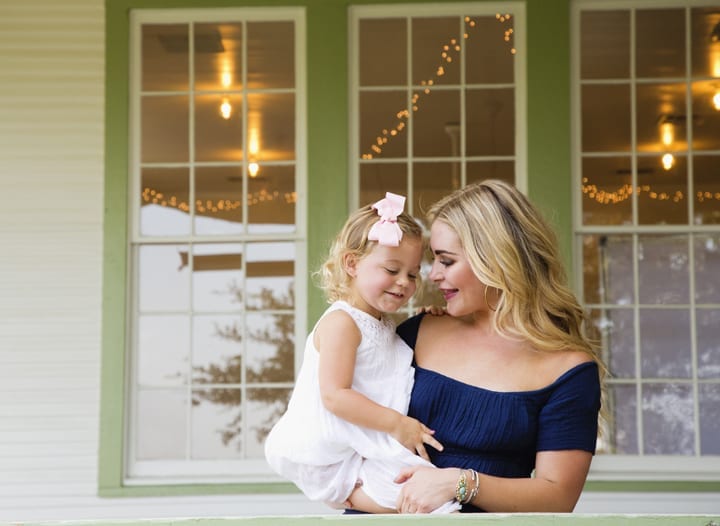
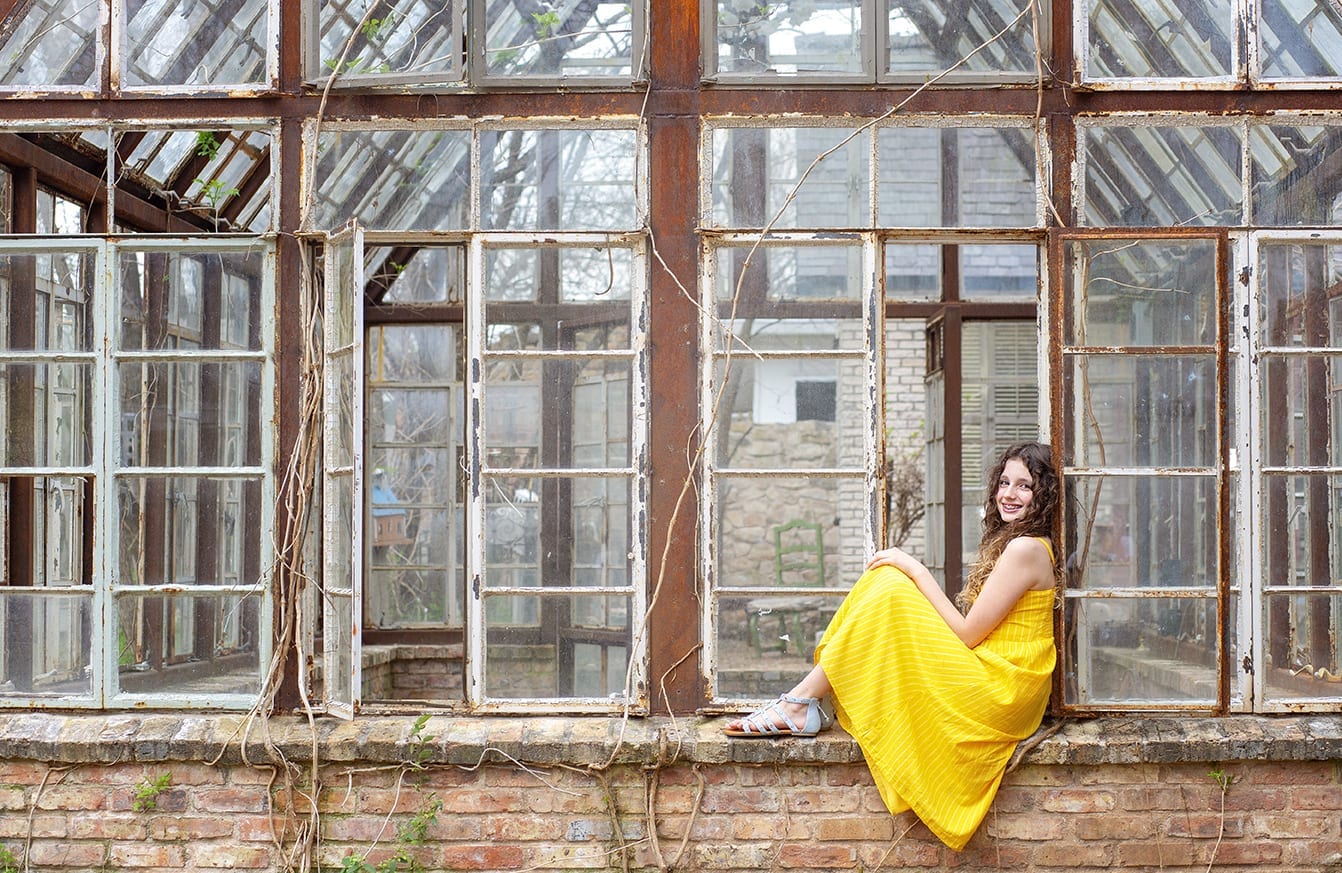
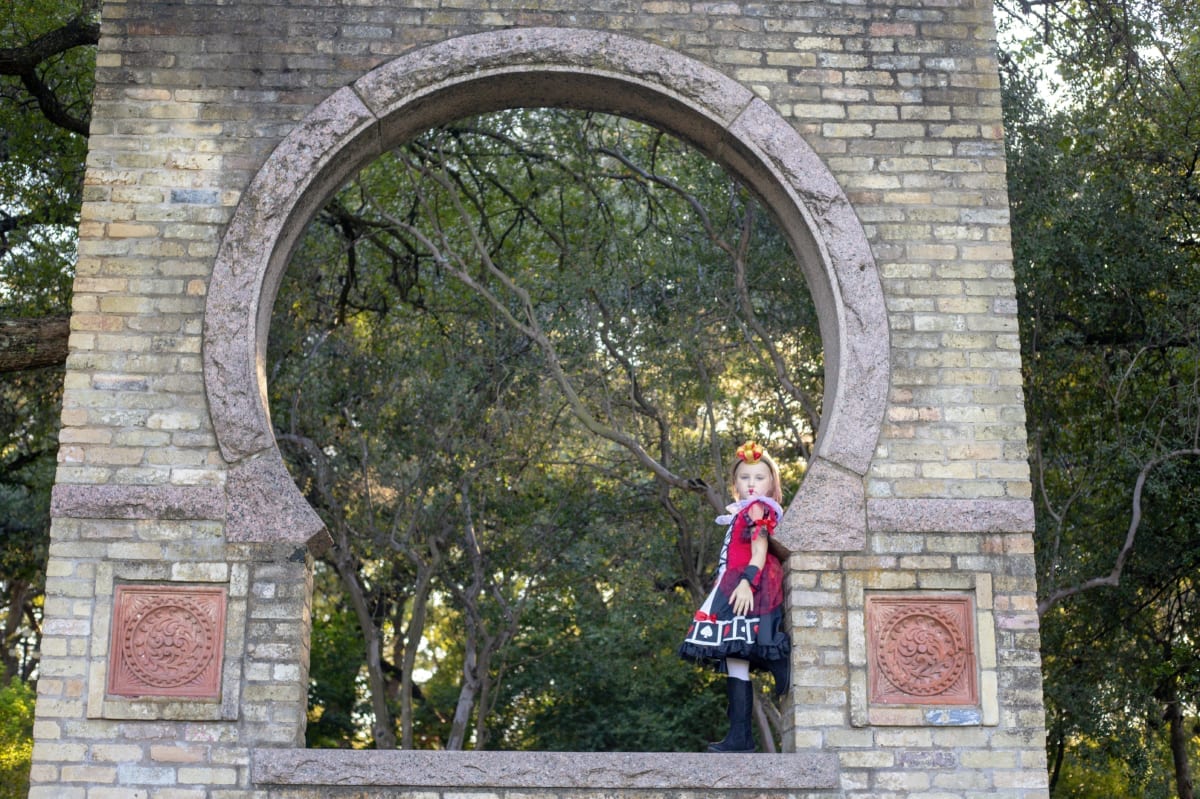
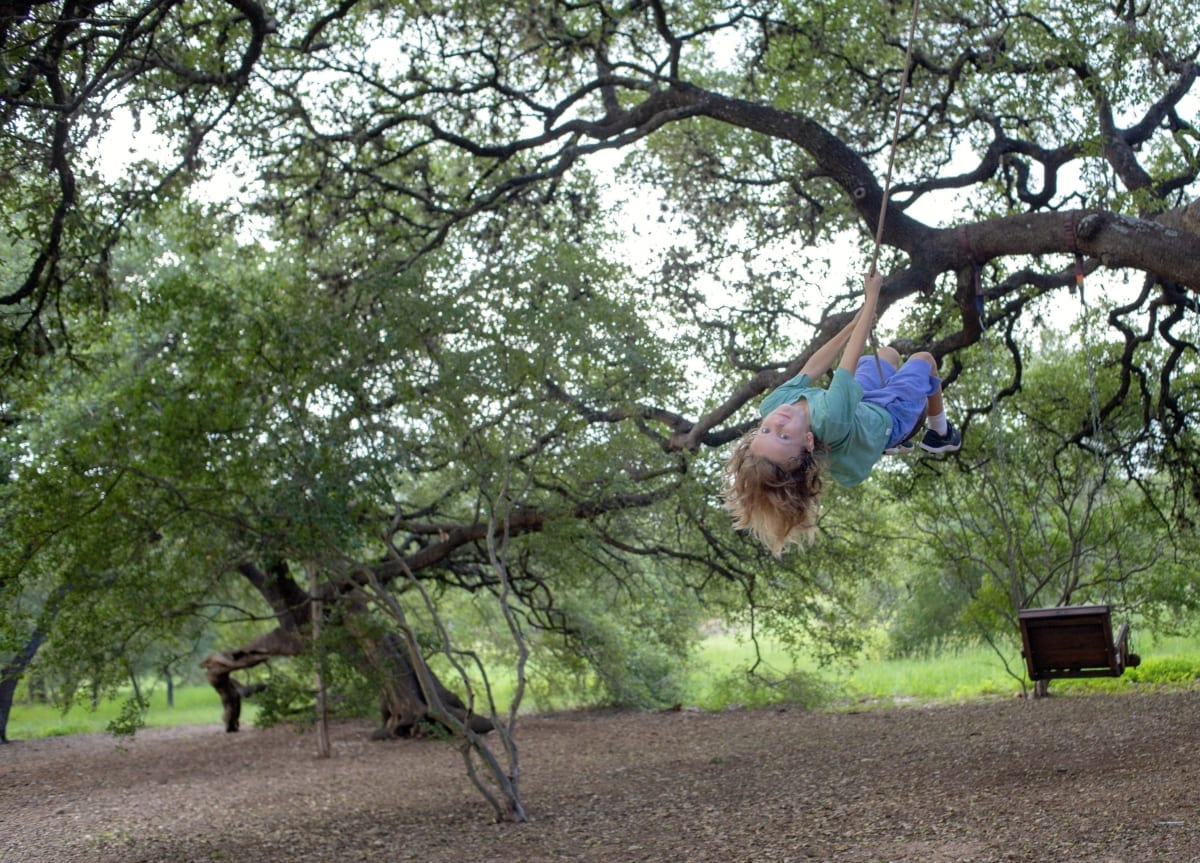
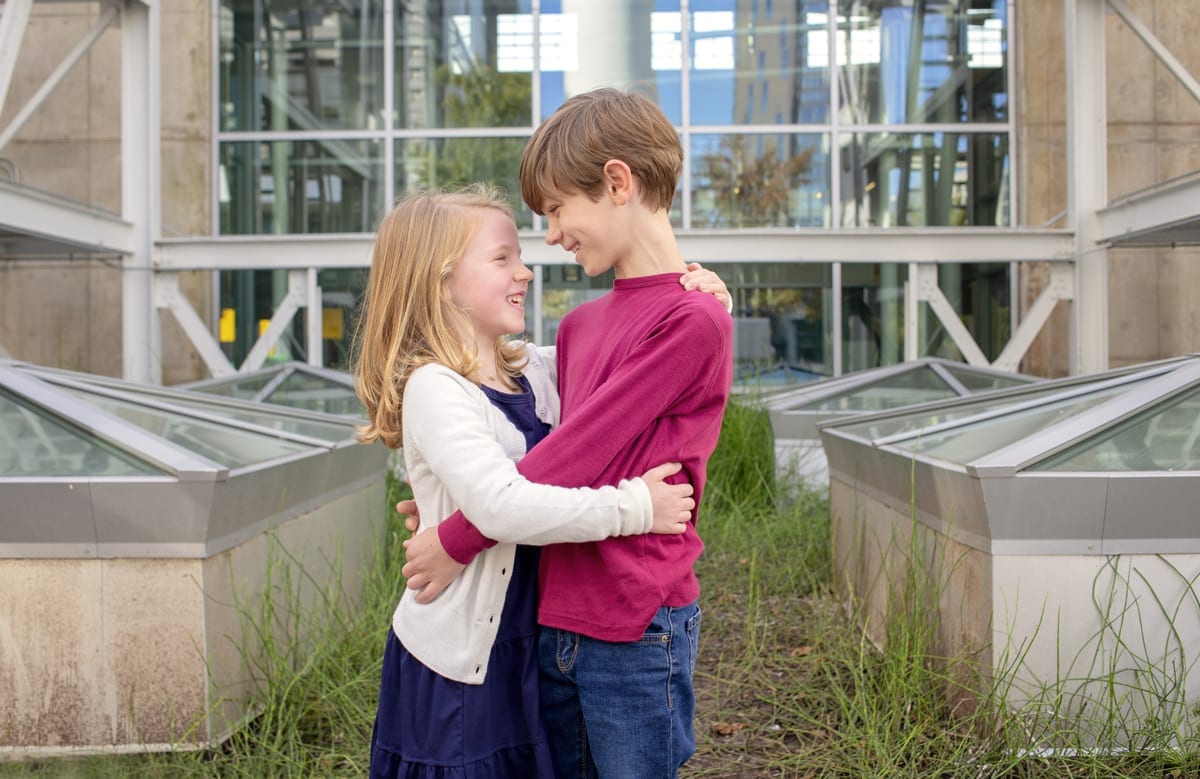
If you want an urban setting, some spots include (Outside of Austin, then North to South):
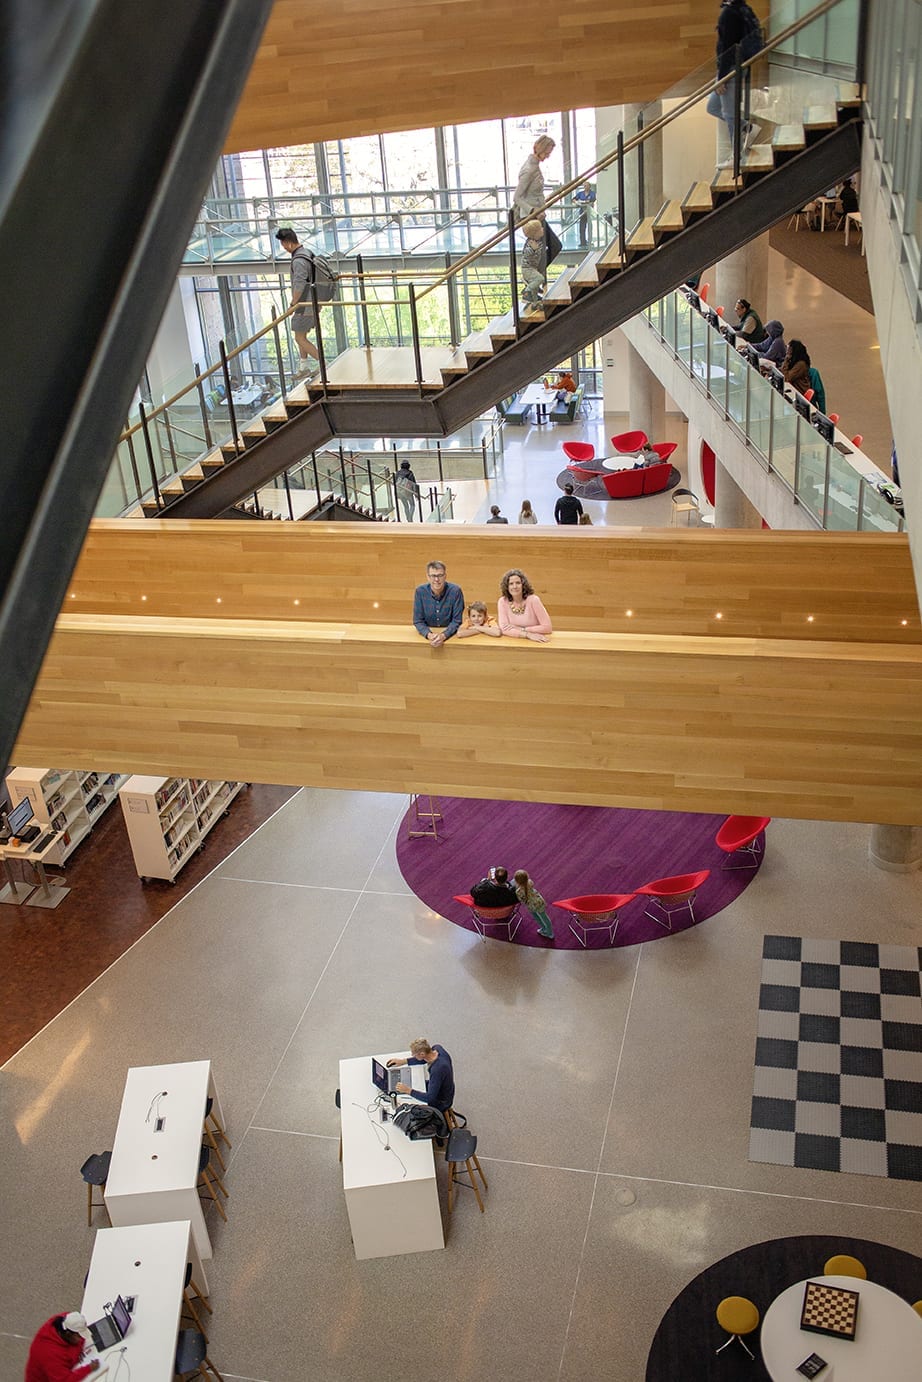
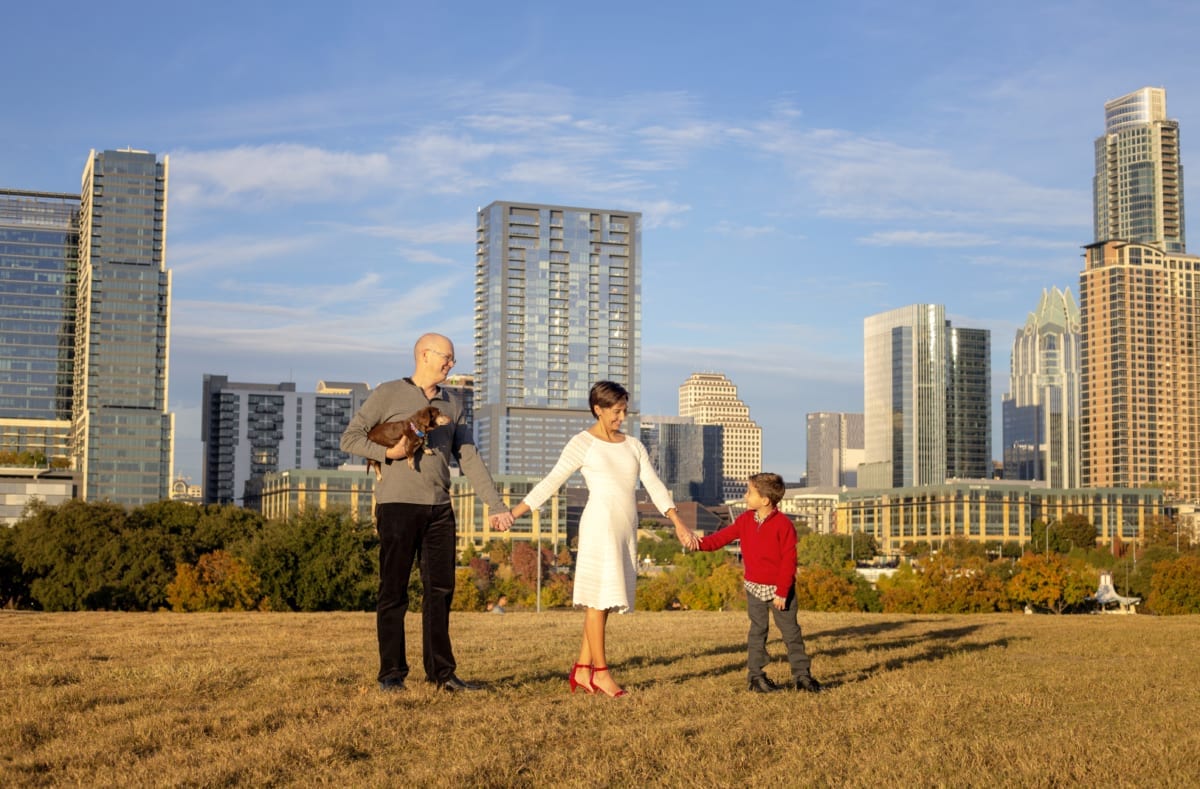
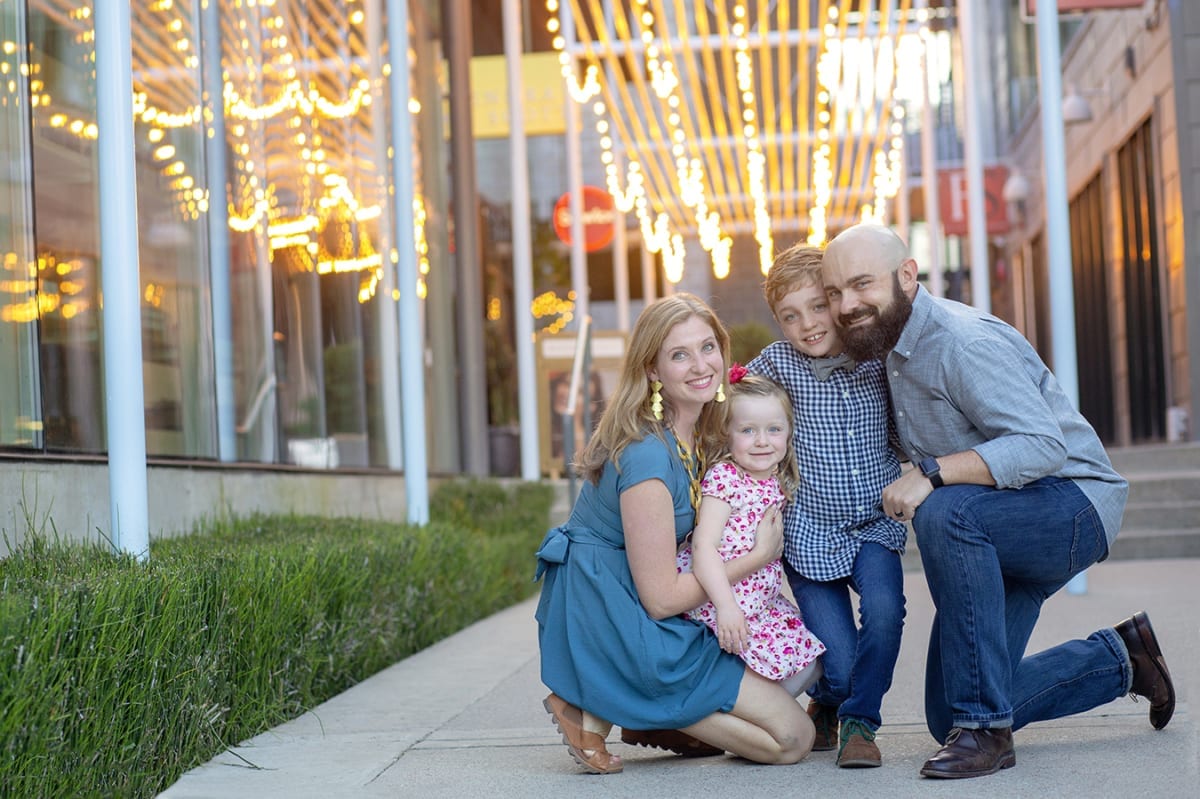
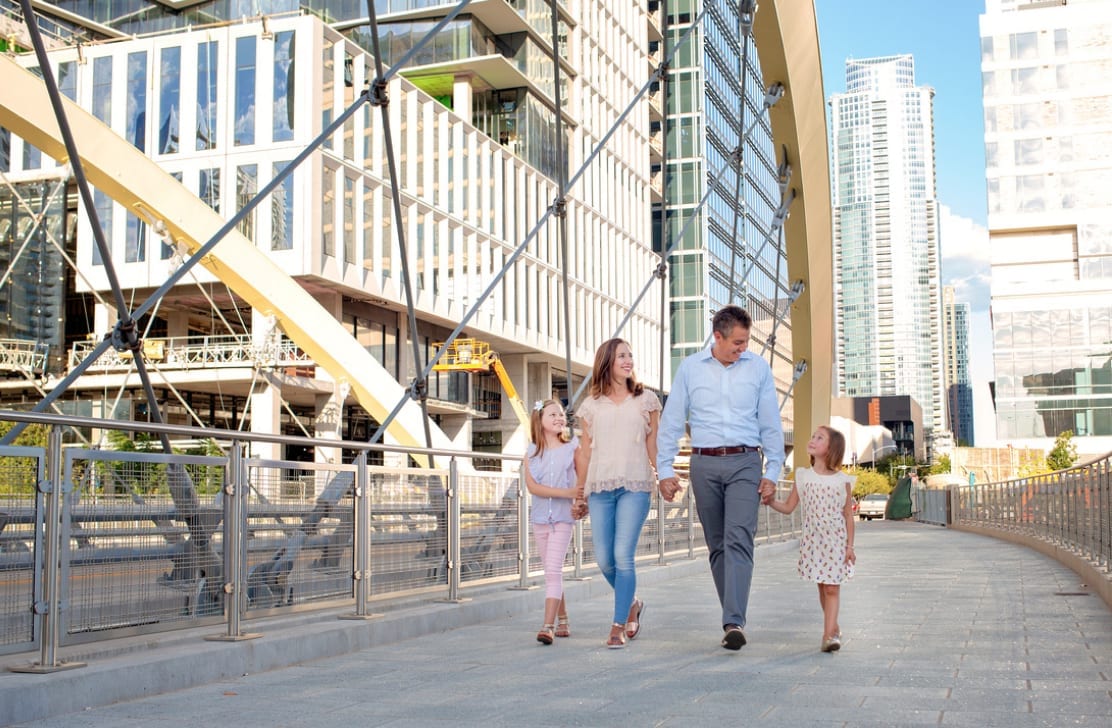
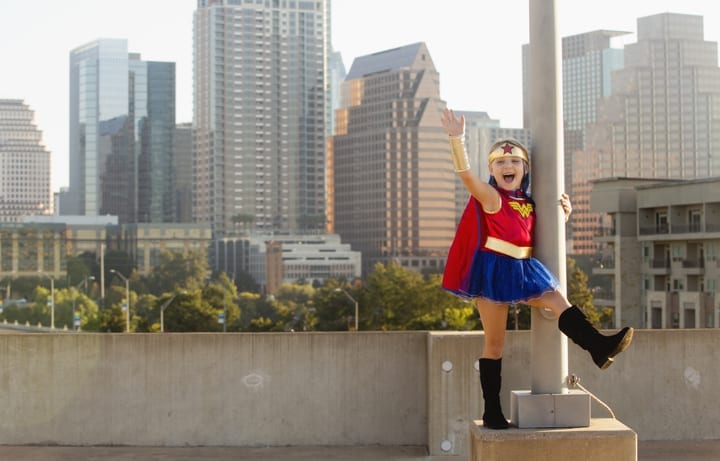
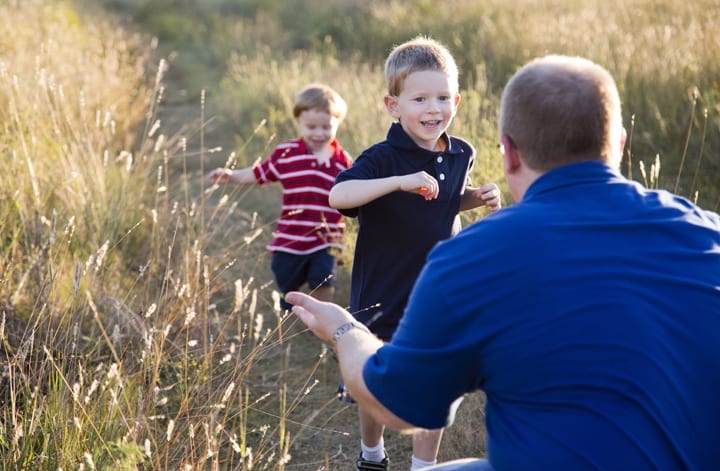
If you want a nature setting, some spots outside of Austin (North to South) include:
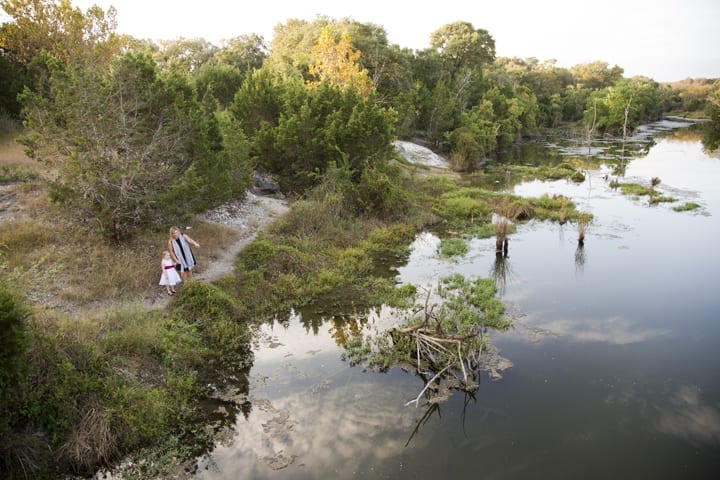
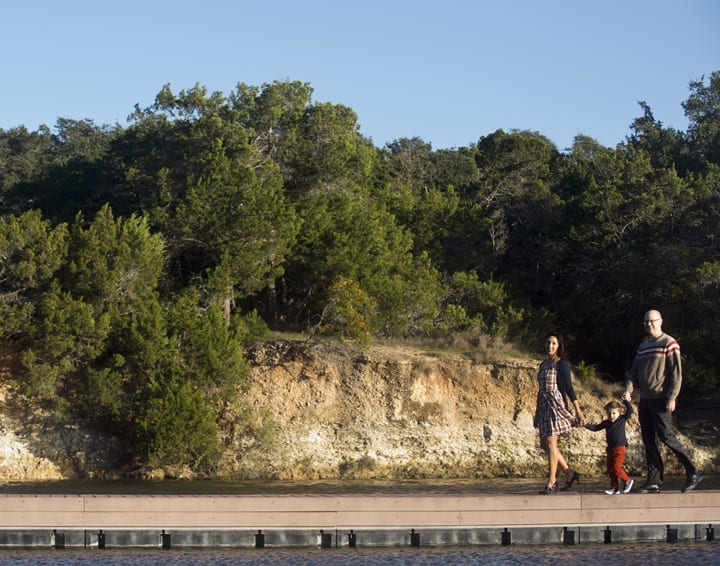
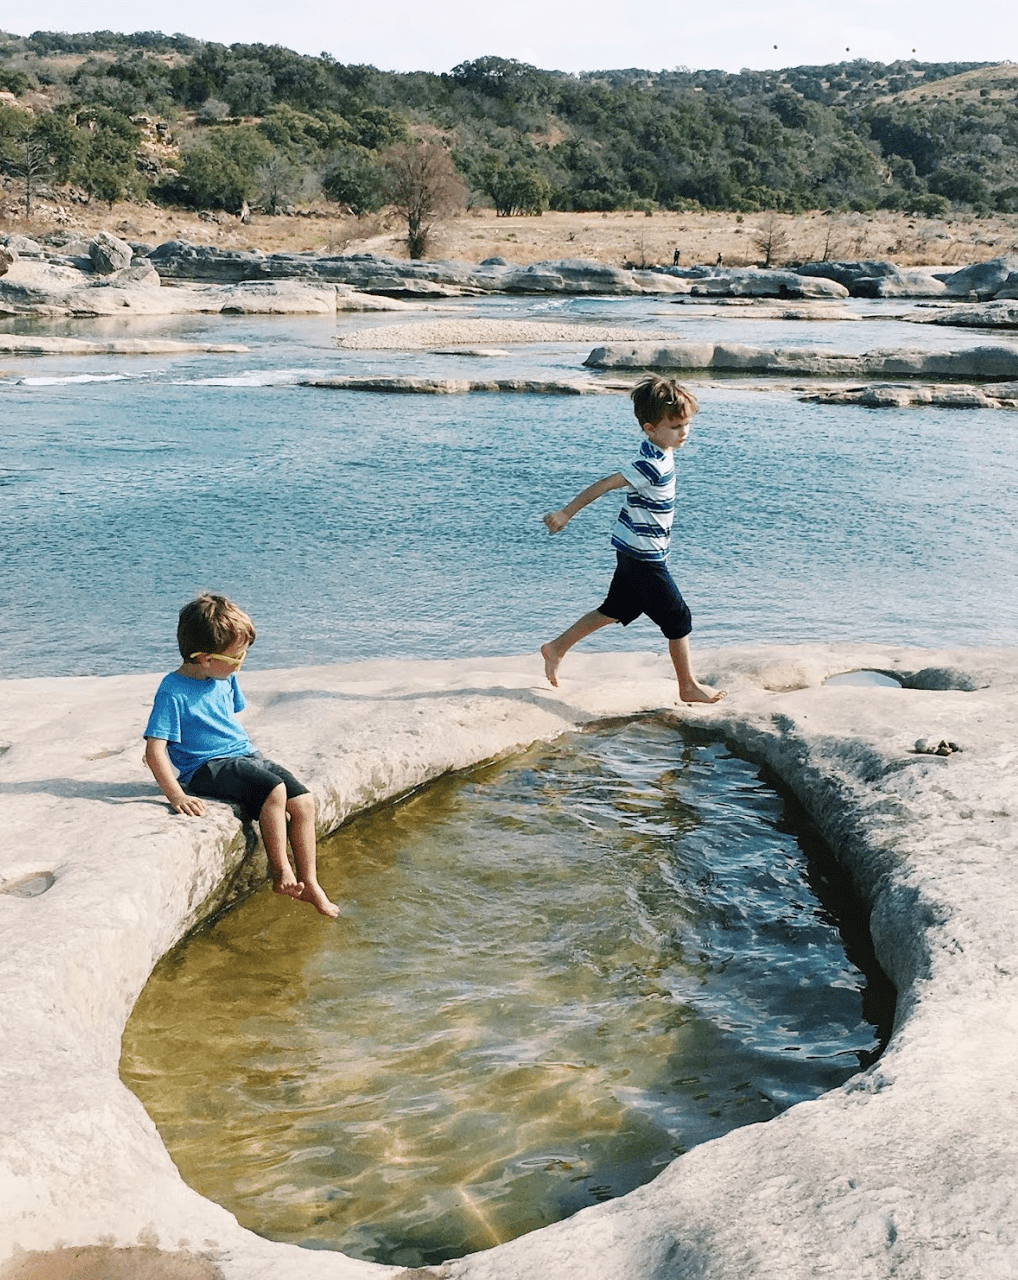
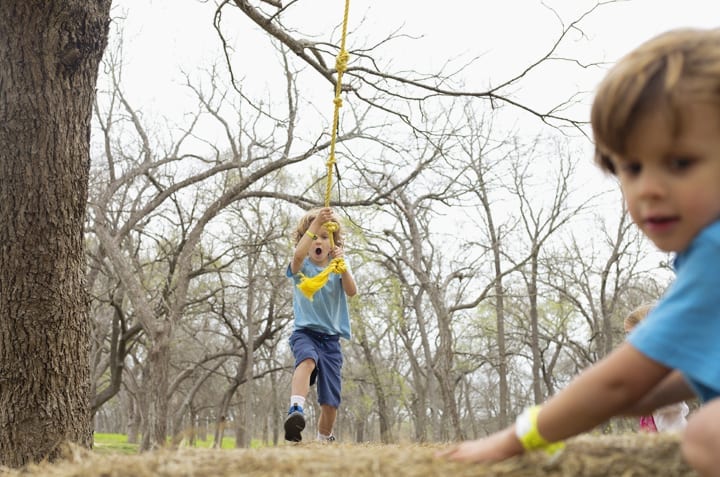
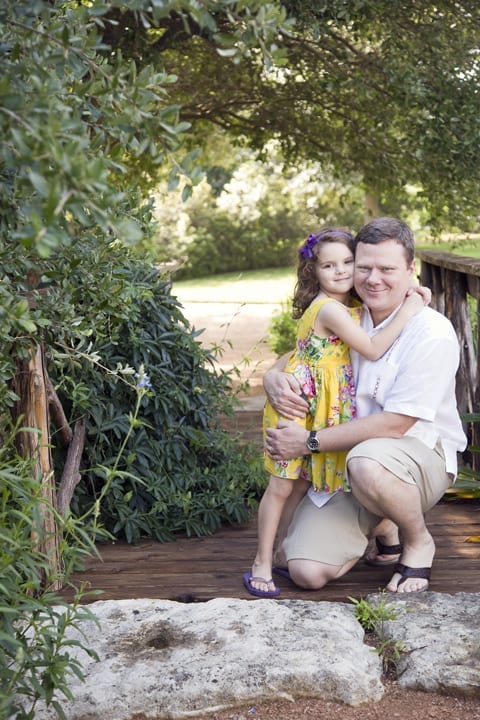
If you want a nature setting in town, some spots in Austin (North to South) include:
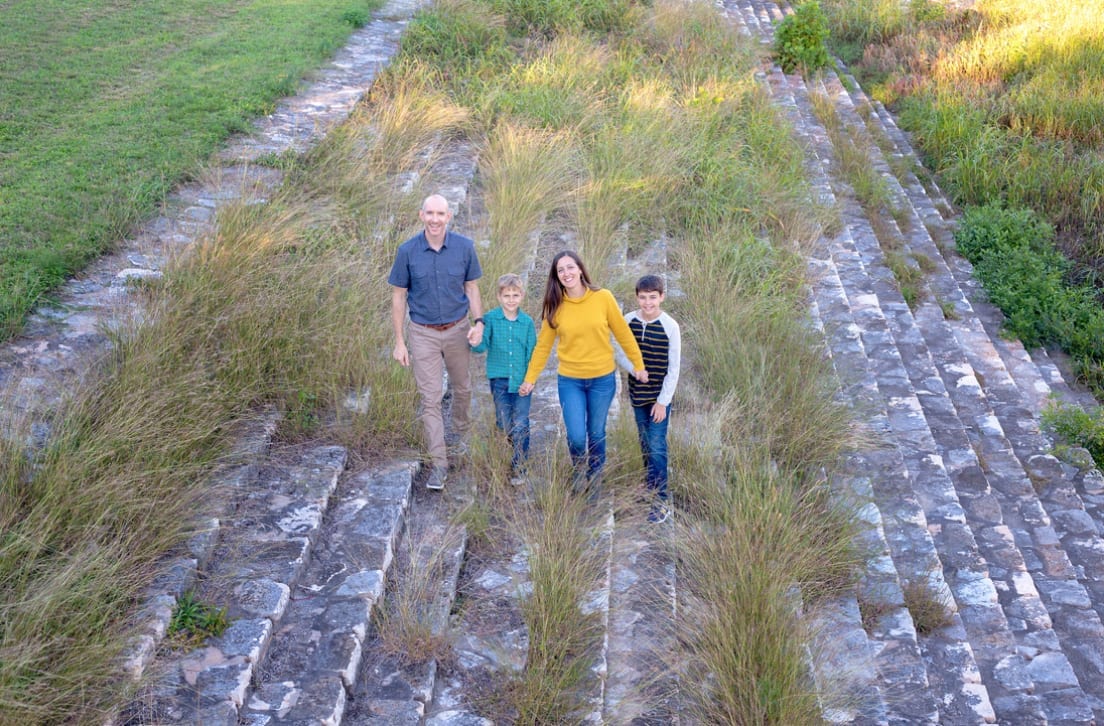
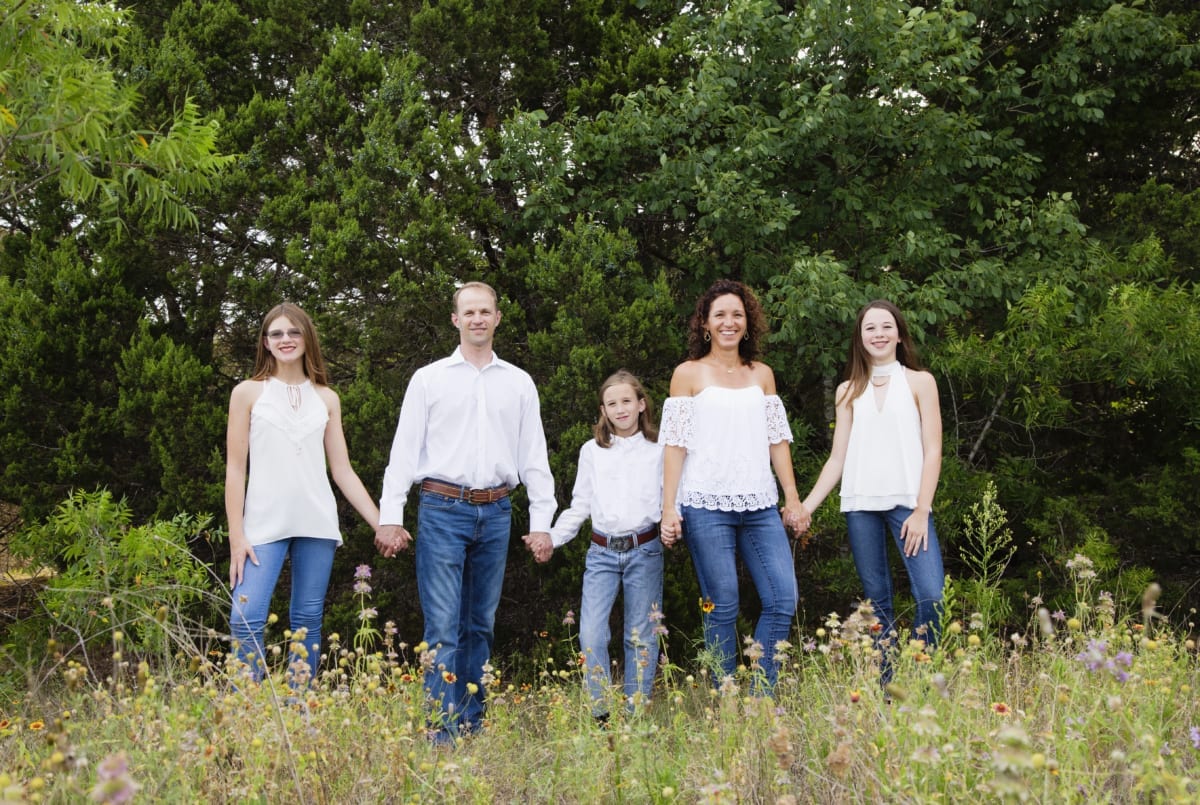
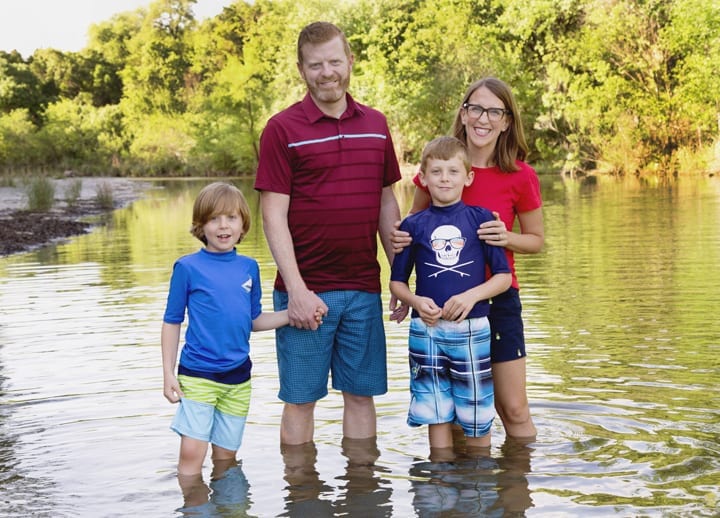
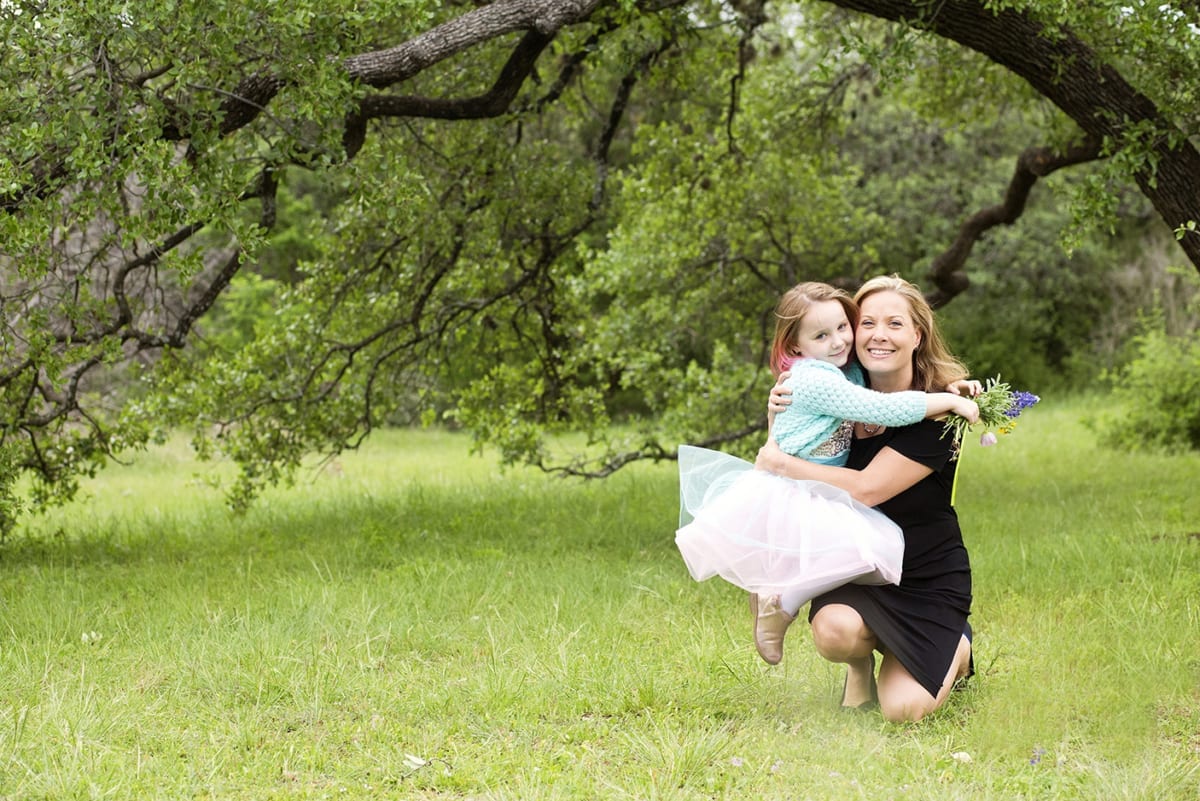
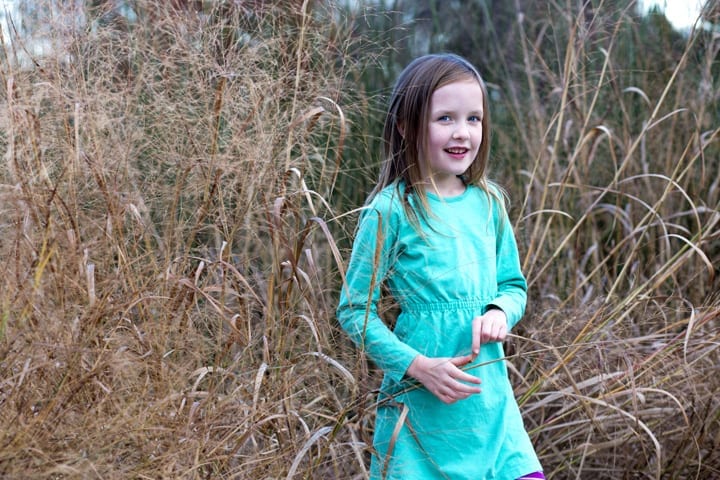
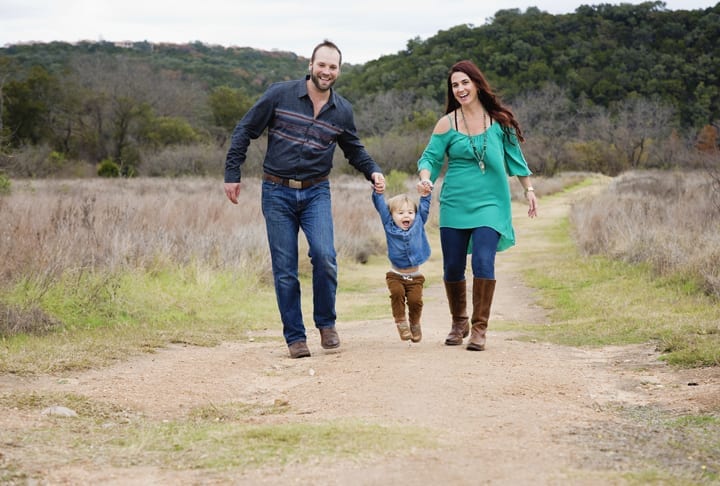
So what’s your best match? Or do you have other ideas for great locations? Contact me and let me know. Let’s find you the best place in or around Austin for your family photos.
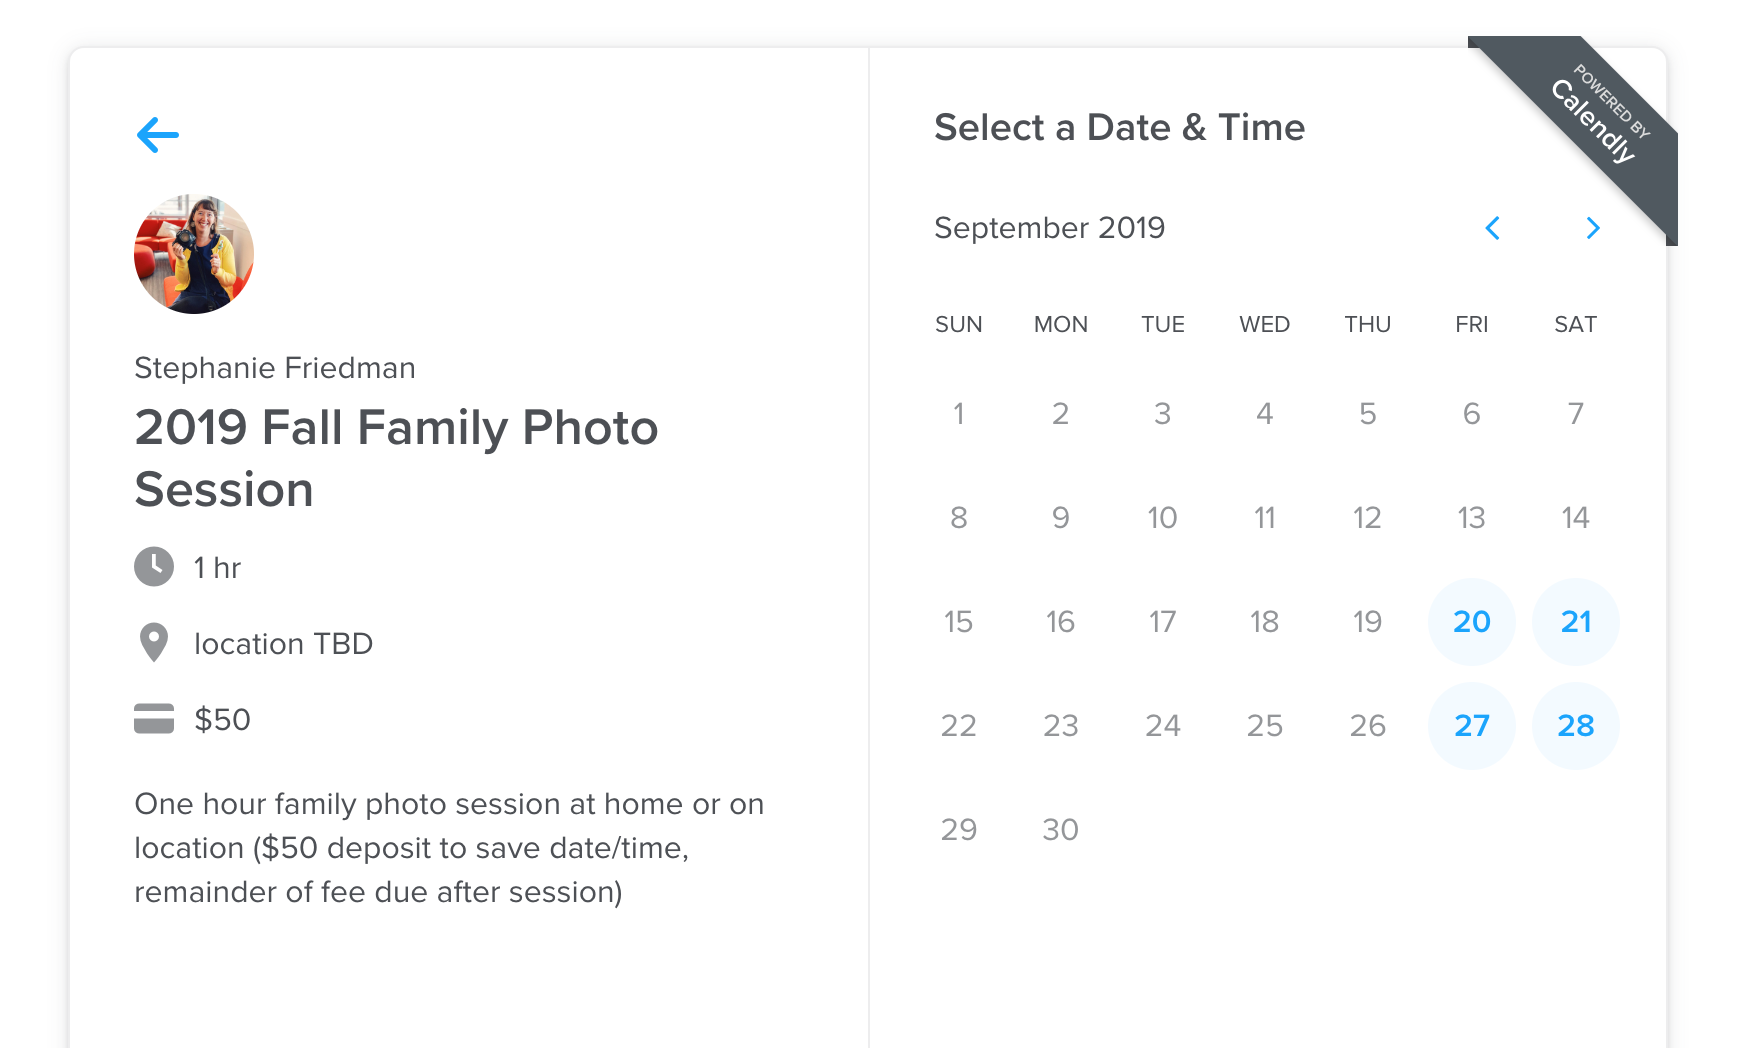
Click on the calendar below to book your Fall Family Photo Session this September, October or November 2019 in Austin, TX. A $50 deposit is required to hold your spot. The remainder of the fee (package information here) is due following your session.
Questions? Interested in another type of photo session? Contact me below first:
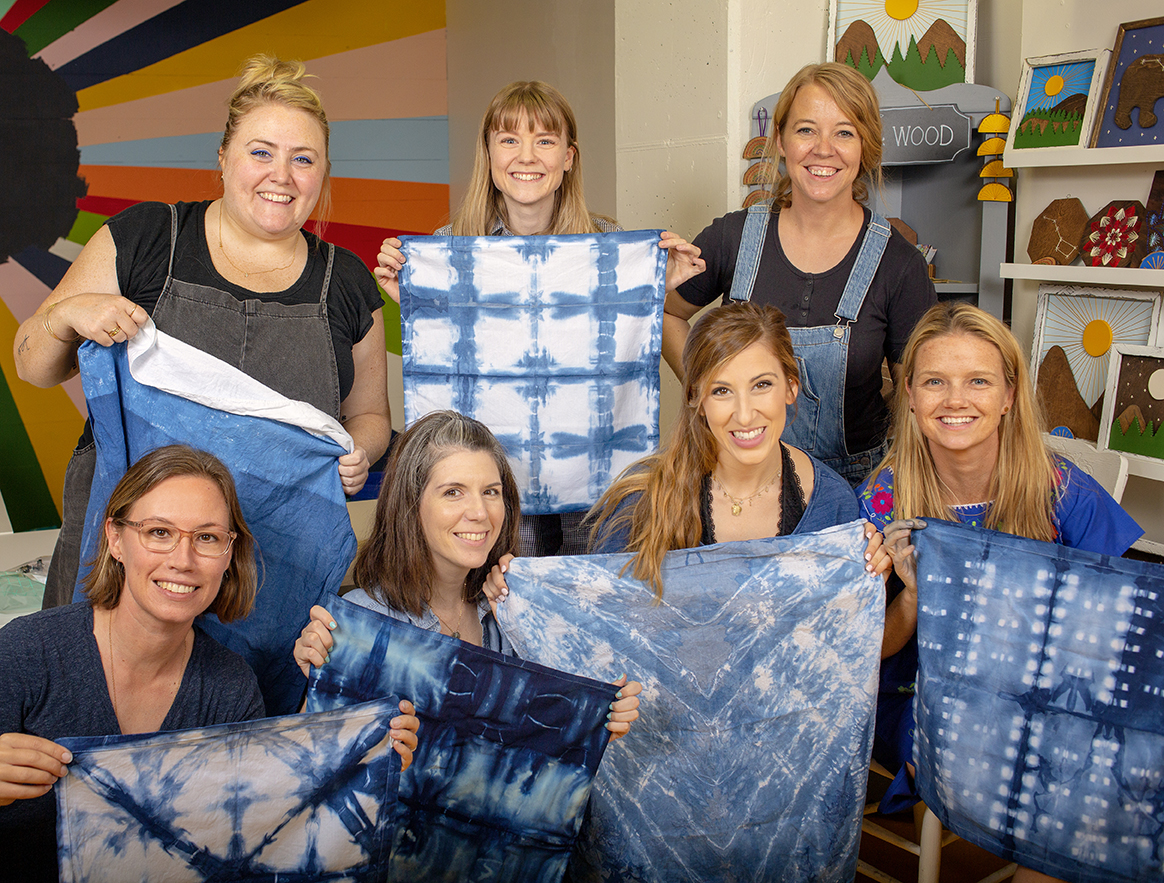
Are you familiar with local artist, Jamie McCormick? She’s a painter and mixed media artist living in Austin, TX (and our kids go to school together).
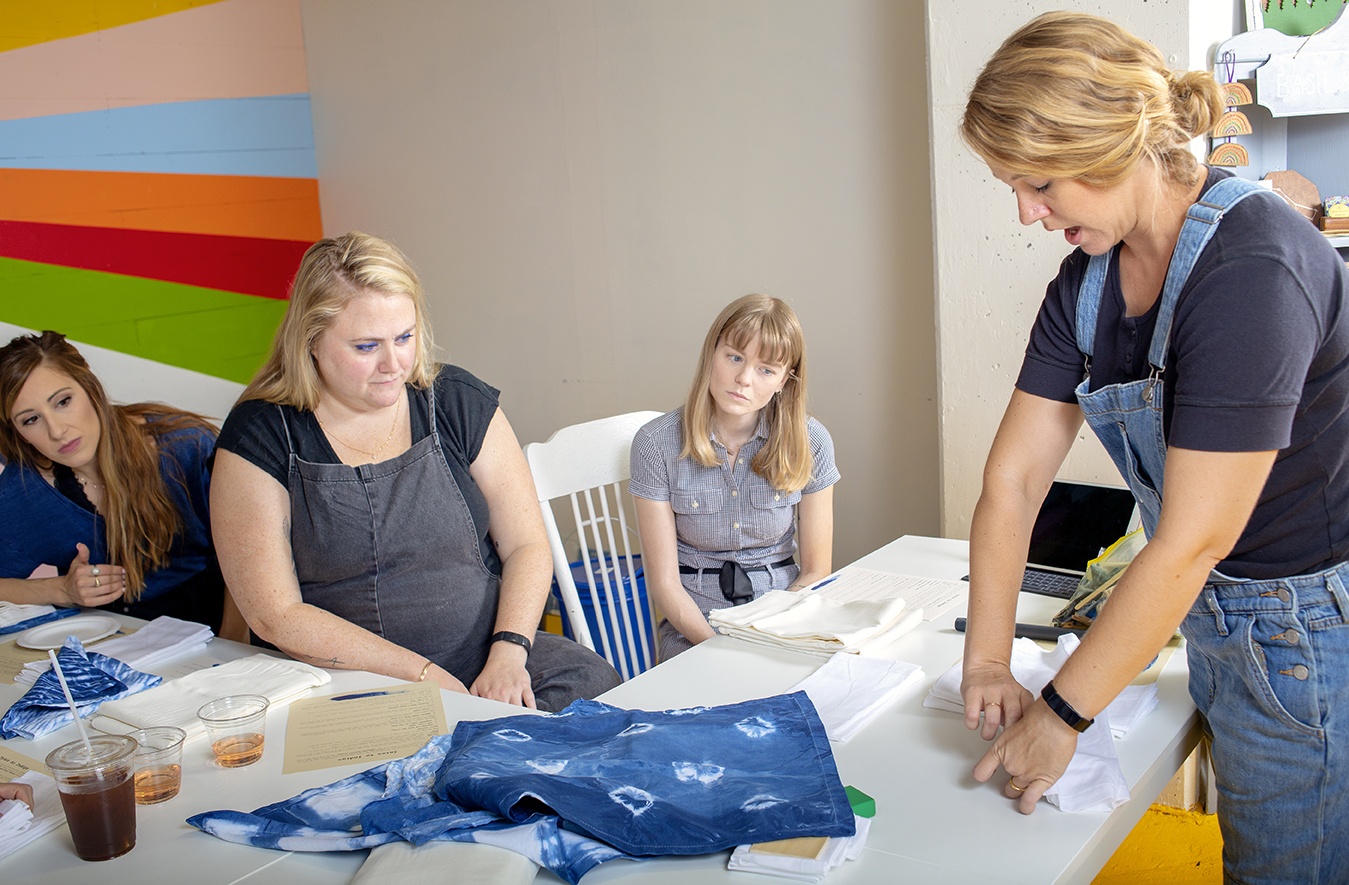
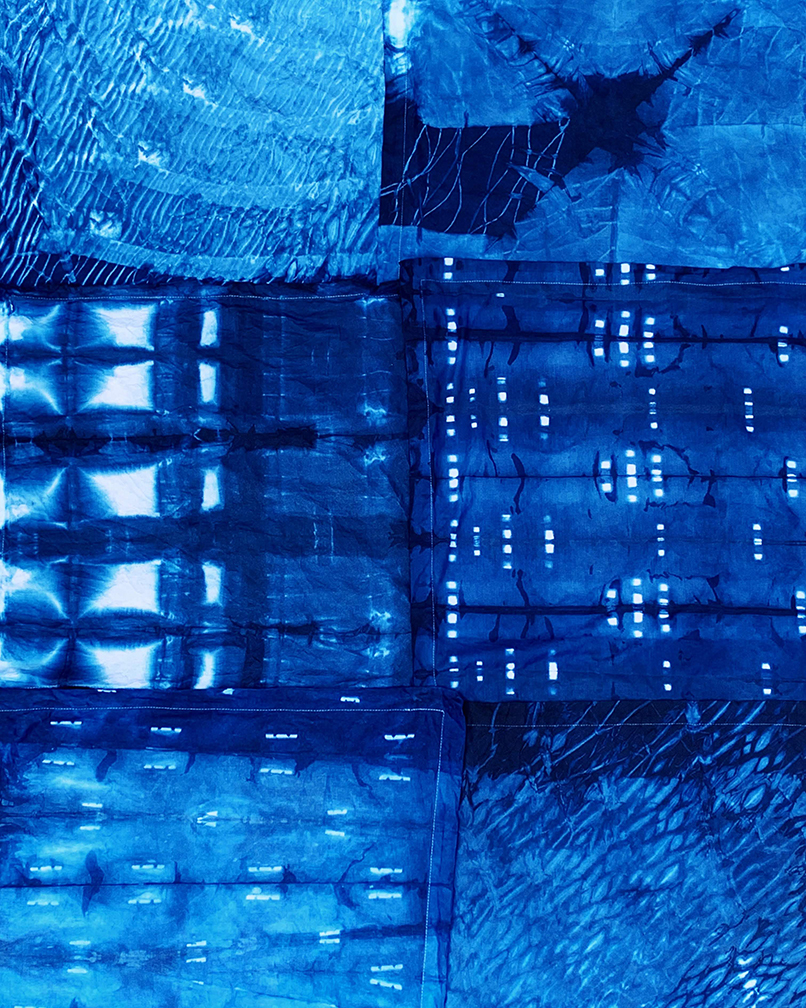
She has a collection of paintings done on indigo-dyed fabric. Recently, she offered an indigo-dying workshop held at the Gloria Collective. I attended, took pictures and also got to take home a set of dyed-napkins. (Though I feel like I should frame them rather than putting them on our dining table because I love them so much!)
So what are the steps in dying with indigo? (I’m so glad you asked)
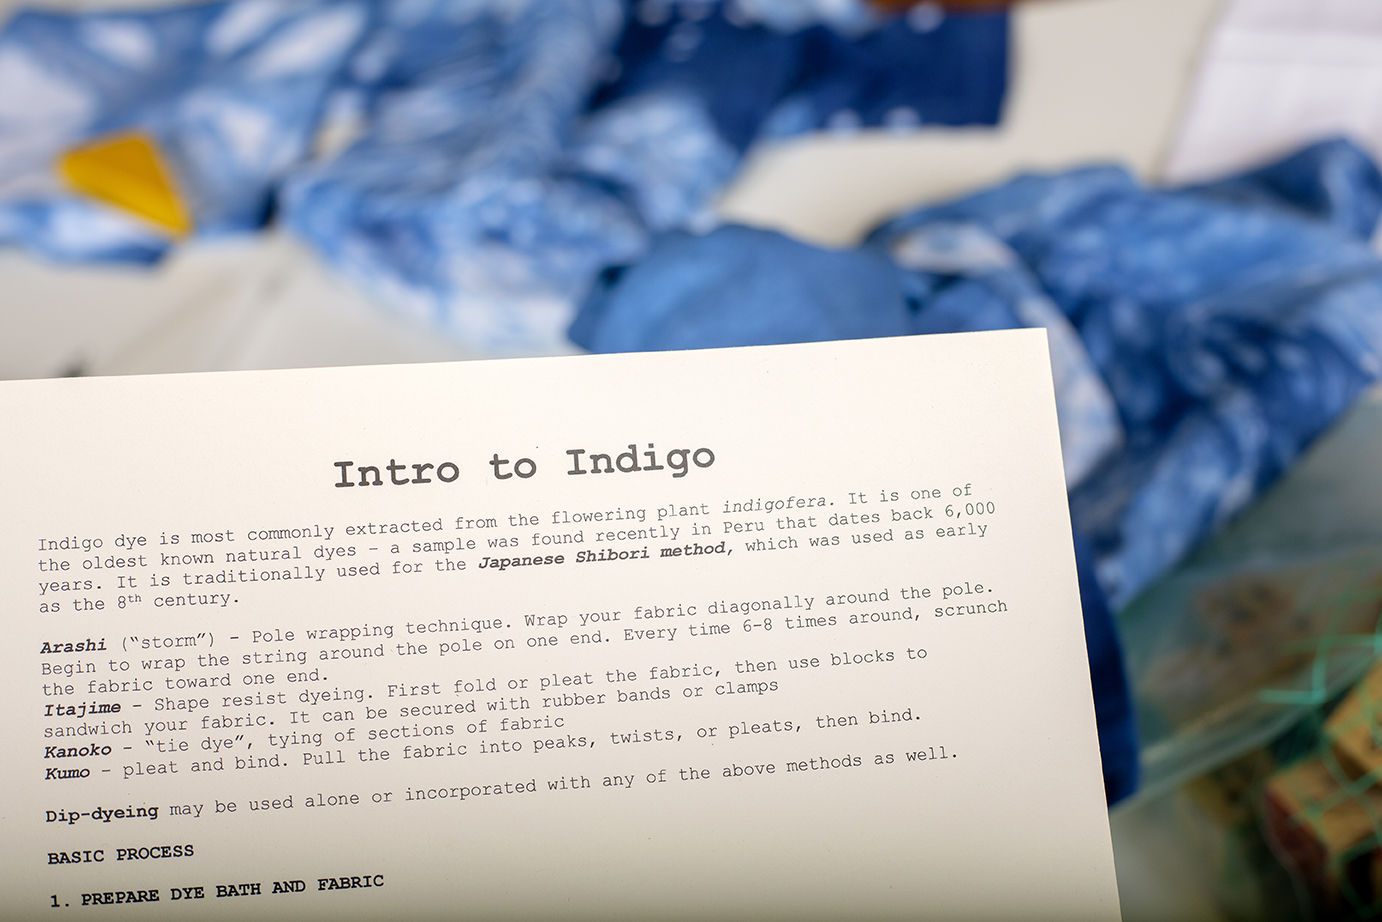
First – learn about the different wrapping / prepping techniques.
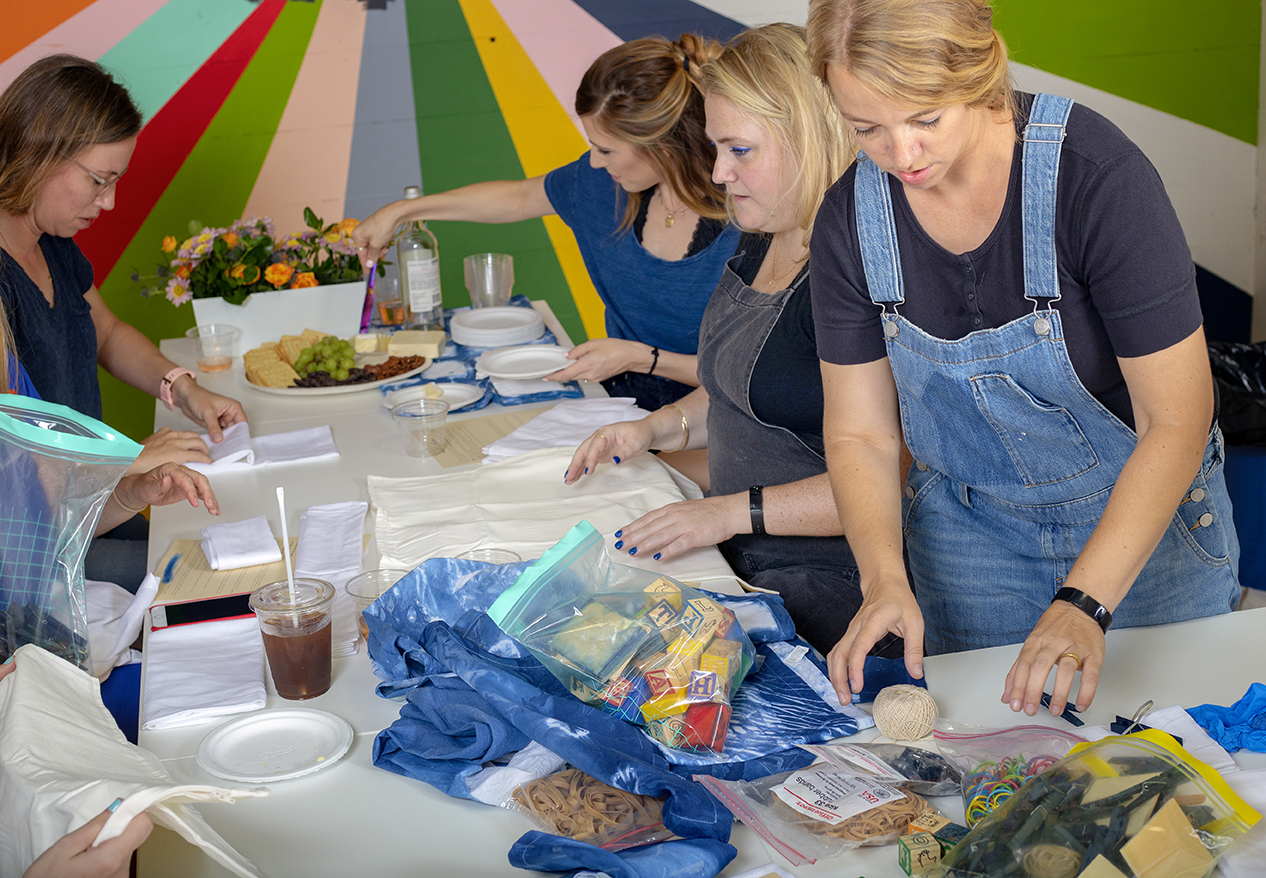
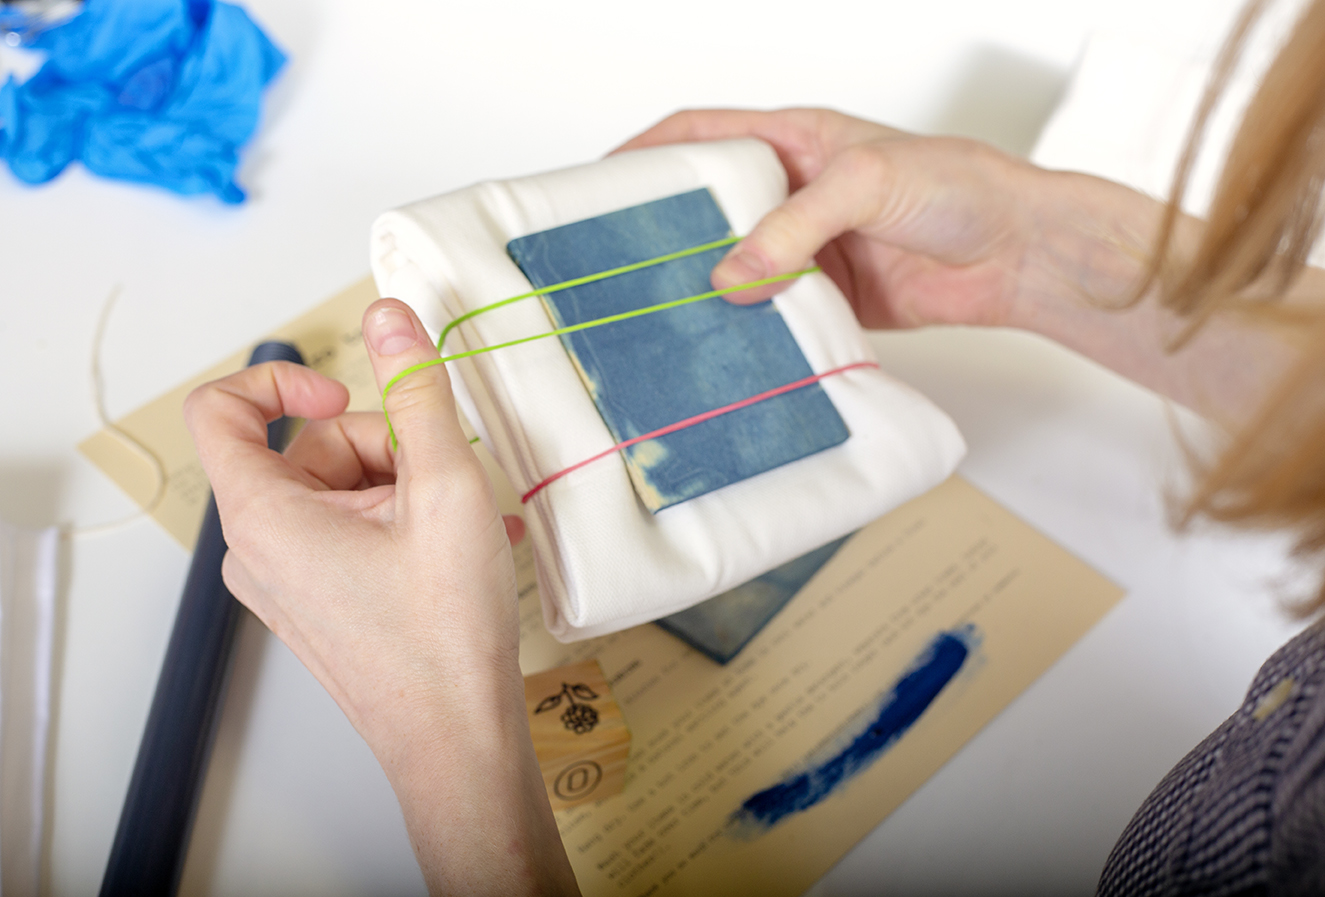
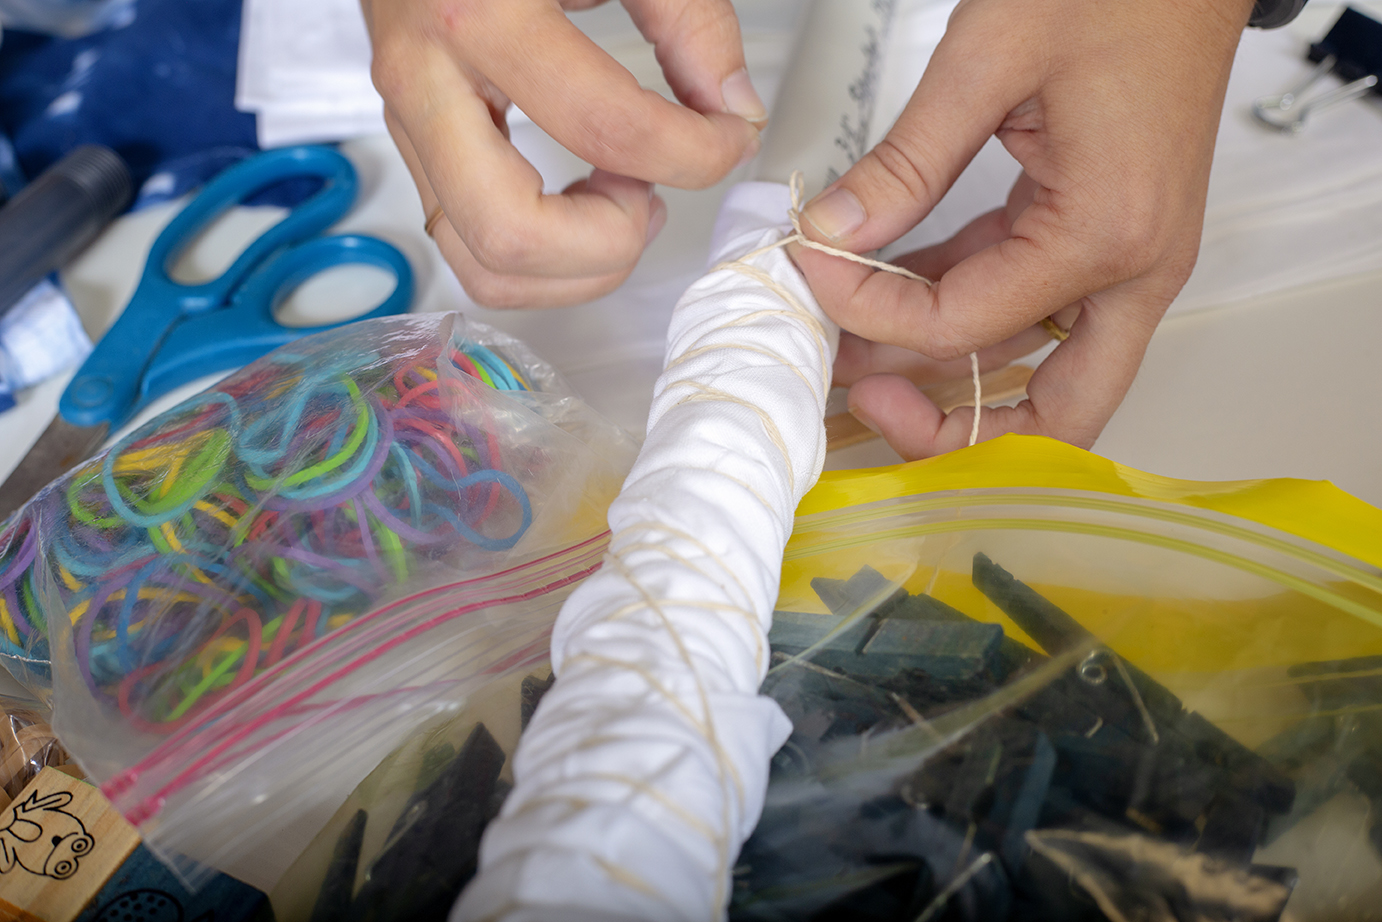
Second – prepare your fabric by wrapping, folding, pinching, etc. You can use rubber bands, clothespins, blocks and more to get different effects.
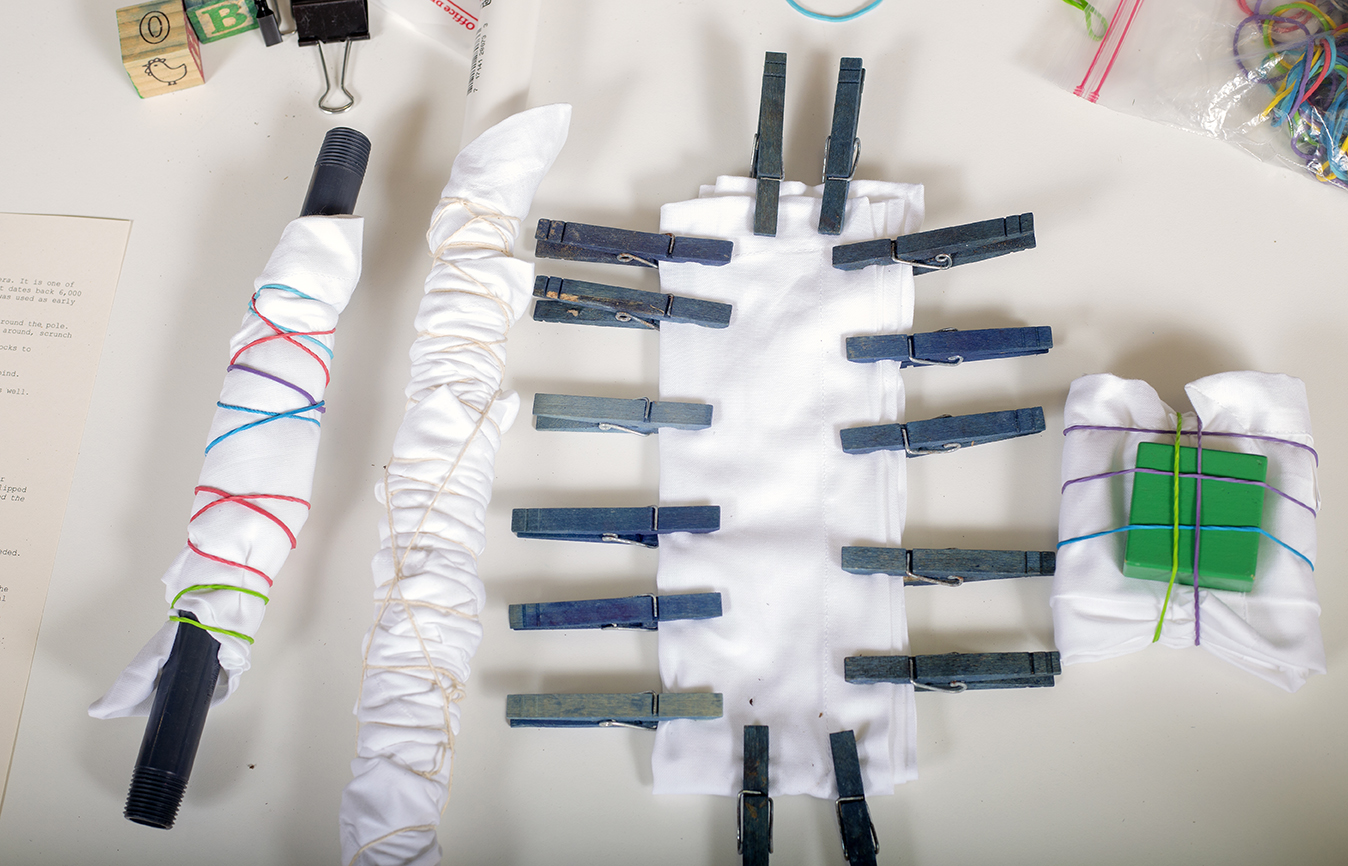
Third – dip the fabric in water.
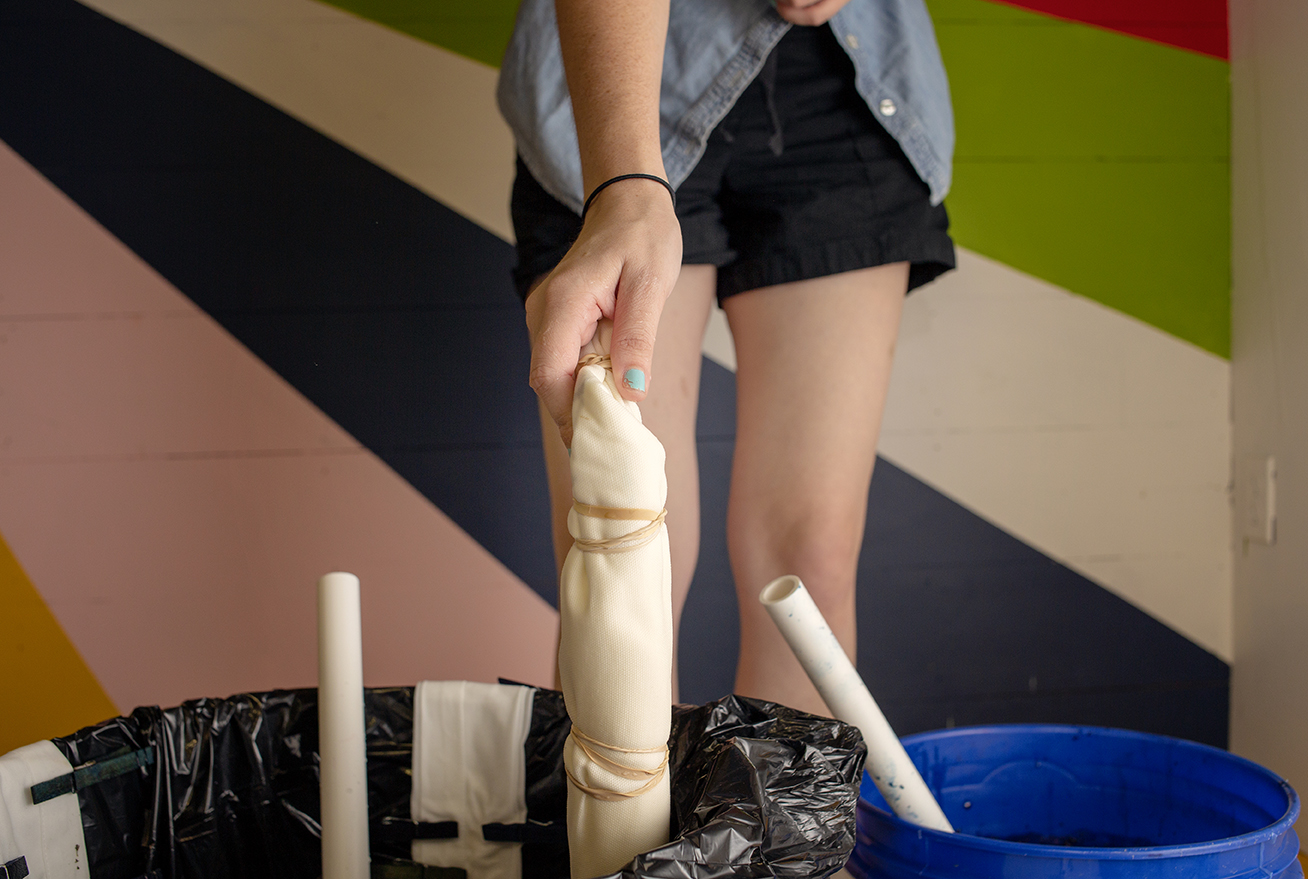
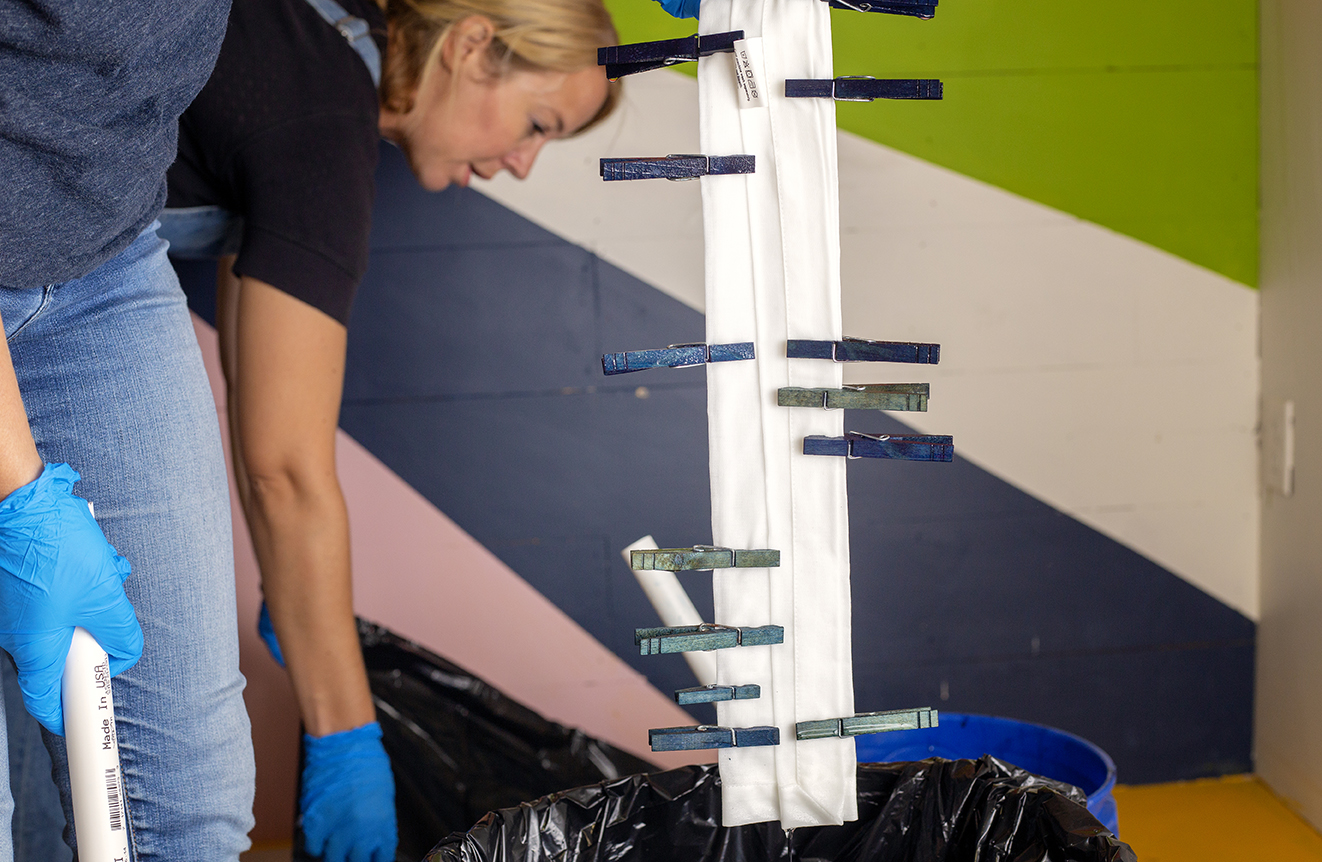
Fourth – Submerge the fabric in the indigo dye.
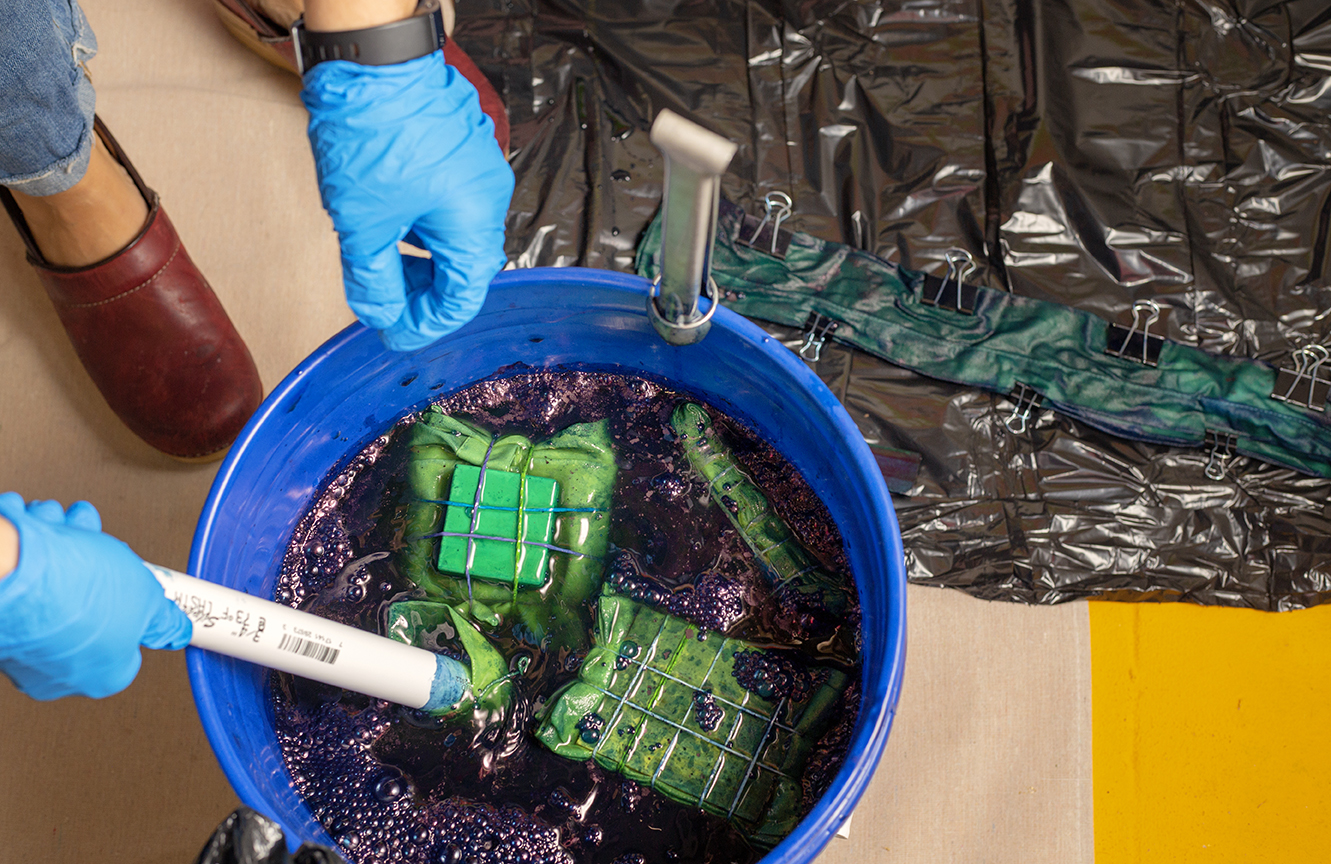
Fifth – Remove the fabric and let it oxidize. It will start out green-colored, then shift to blue. The longer you keep the fabric in the indigo dye, the darker it will be at the end of the process.
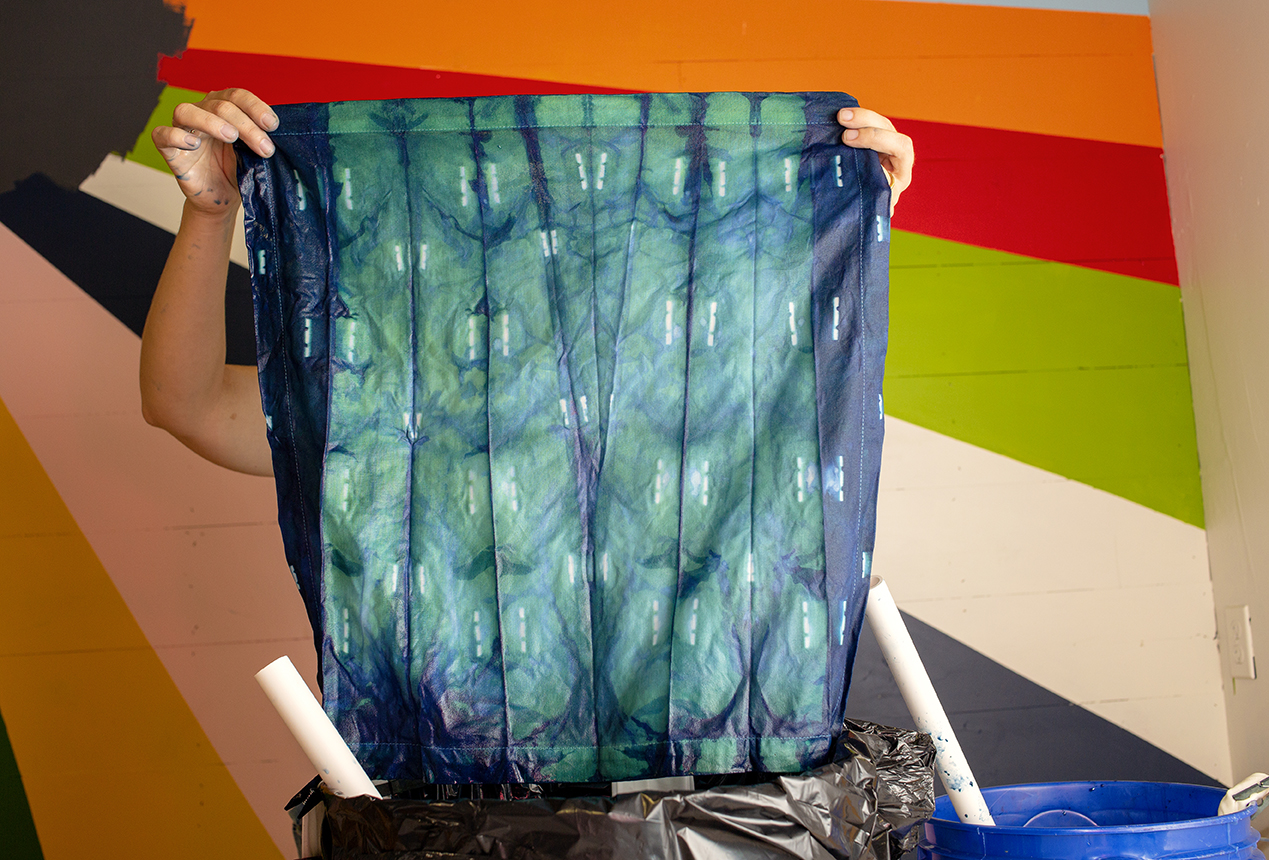
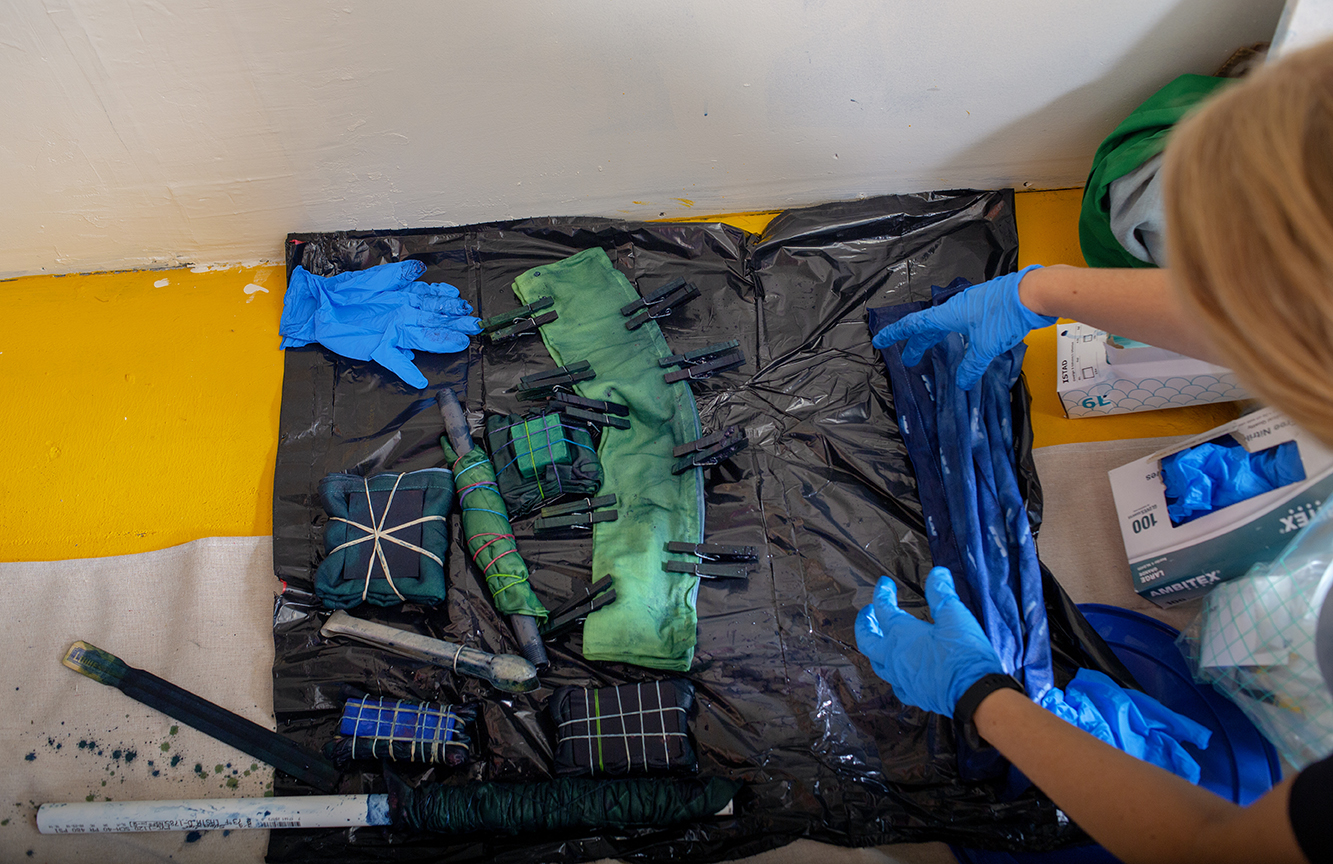
Sixth – Rinse again with water and repeat for your next piece of fabric.
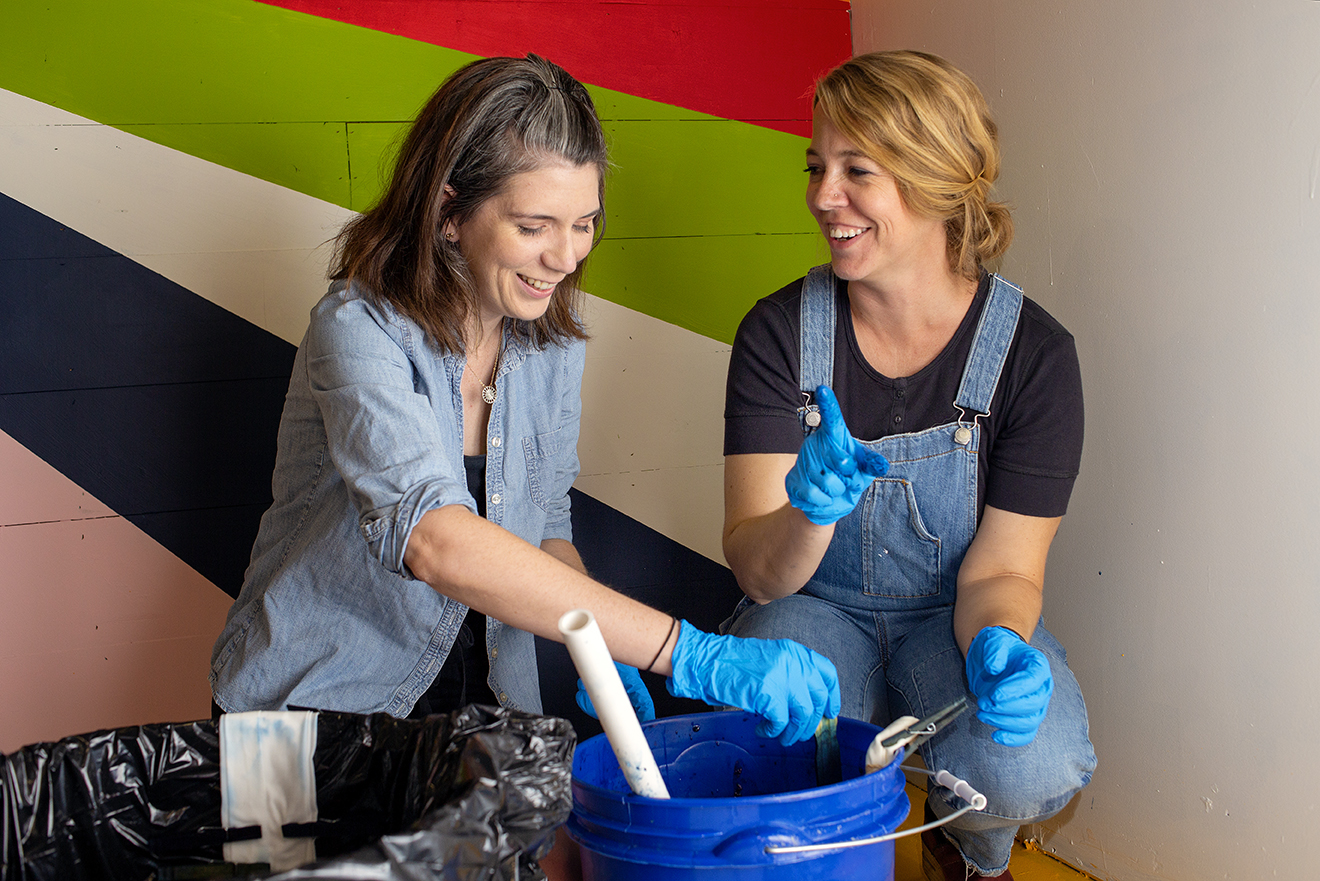
Seventh – Take home your new piece of art (where you will wash it separately in cold water – perhaps even with a vinegar mix first to set the dye).
Eighth – Smile big because you love what you made 🙂
Thanks, Jamie – that was a very fun workshop!
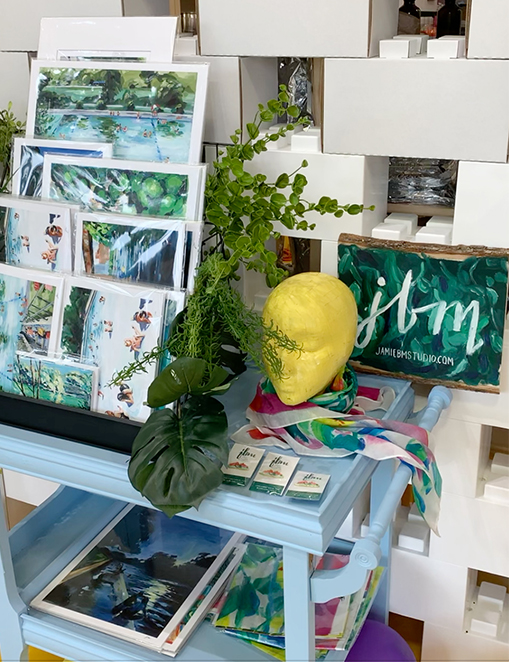
If your business needs photo content for your website, blog or social media, I offer “Creative Business Story” packages that come in many sizes. Let’s work together. Contact me below.